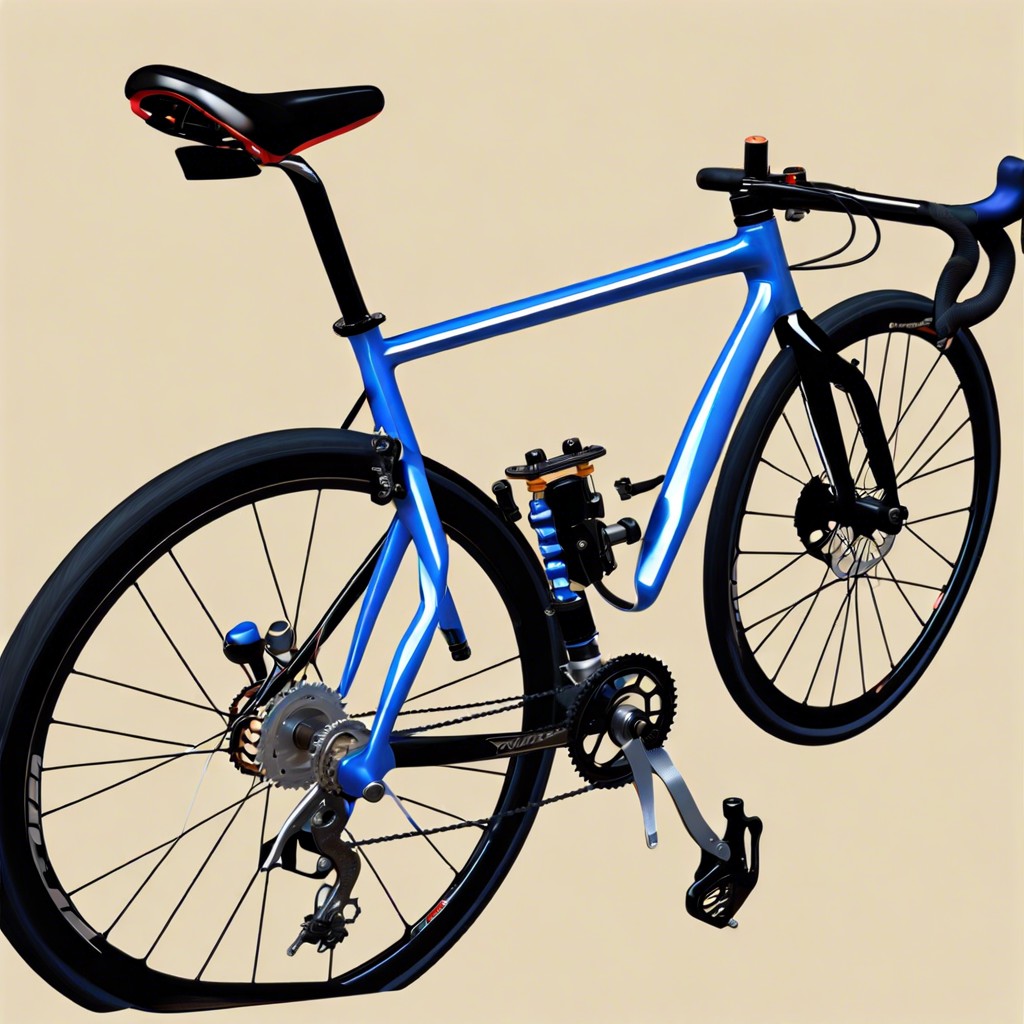
This guide will teach you how to perform a bike tune-up to keep your ride smooth and reliable.
Key takeaways:
- Clean workspace, gather tools for tune-up.
- Check tire pressure, spin wheels for wobbling.
- Inspect chain, test gears for smooth shifting.
- Tune-up brakes, gears, tires, and chain.
- Fix flats with ease, ensure proper re-inflation.
Simple Steps

First, start with a clean workspace. A tidy area keeps tools visible and prevents misplacing small parts. Gather basic tools: Allen keys, a bike stand, a tire lever, and some rags.
Check tire pressure. Under-inflated tires make the ride sluggish, while over-inflated ones can pop.
Spin the wheels. They should turn smoothly without wobbling. If they don’t, they might need truing.
Inspect the chain. It shouldn’t sag and should be free of rust. More on proper chain maintenance later.
Test the gears. Shift through each one, ensuring smooth transitions. If they skip or stick, some adjustments are needed.
Components That Need to Be Tuned Up
First, start with the brakes. They need to be responsive and powerful. Check the brake pads; if they’re worn down, it’s time for new ones. Adjust the tension so they grip just right.
Next up, the gears. Smooth shifting makes a world of difference. Adjust derailleurs for precise changes and inspect the cables. Frayed or corroded ones won’t cut it.
Tires can’t be overlooked. Proper inflation is crucial—underinflated tires make pedaling harder, while overinflated ones can be a bumpy ride. Check for any wear and tear. Replace if necessary.
Lastly, the chain. A clean, well-lubricated chain reduces friction and wear. Inspect for rust, dirt, and tight links. A good scrub and lube session will work wonders.
These components are the backbone of a smooth ride. Give each one some love, and you’ll feel the difference.
Check and Adjust Brakes
First, squeeze the brake levers to check for responsiveness. The levers should engage the brakes halfway to the handlebars. If they touch the grips, they need adjustment.
Next, inspect the brake pads. They should align with the rim and not touch the tire. Worn pads should be replaced.
Now, check the brake cables. Look for fraying and replace if necessary. Tighten or loosen the barrel adjuster on the brake lever to fine-tune tension.
Finally, spin the wheels. They should move freely and come to a smooth stop when the brakes are applied. If the wheel wobbles, it might need further adjustment or truing.
These steps help keep your bike safe and reliable.
Fixing a Flat
First, get the bike off the ground and remove the wheel. Sounds trickier than it is.
Next, take out the tire levers and carefully pry the tire off the rim. It’s like using a spoon to flip a stubborn pancake.
Locate the culprit. Whether it’s a nail, a thorn, or a shard of glass, remove it to prevent future flats.
Now, grab the new tube. It’s a good idea to pre-inflate it a bit, just so it’s easier to work with.
Nestle the tube into the tire and carefully fit the tire back onto the rim. A bit of patience helps here.
Re-inflate the tire, ensuring no pinches or twists. Put the wheel back on the bike. Give it a quick spin to check everything’s gravy.
You’re back on the road or trail ready for your next adventure.
Don’t Forget the Lube
Keep your bike running smoothly by regularly applying lubricant to key parts. Lubrication reduces friction, which can prevent wear and tear, making your ride quieter and more enjoyable. Focus on these areas:
Chains: A well-lubed chain moves freely and smoothly. Clean off old grime before adding fresh lube.
Derailleur: Both front and rear derailleurs need attention. Apply lube to the pivot points to maintain crisp shifting.
Brake and shift cables: Keep them slick so you can brake and shift with ease. A few drops can make a big difference.
Remember, less is more. Over-lubricating can attract dirt and grime, leading to even more wear. Wipe off any excess after application. Regular maintenance like this keeps your bike in top shape and prolongs its lifespan.