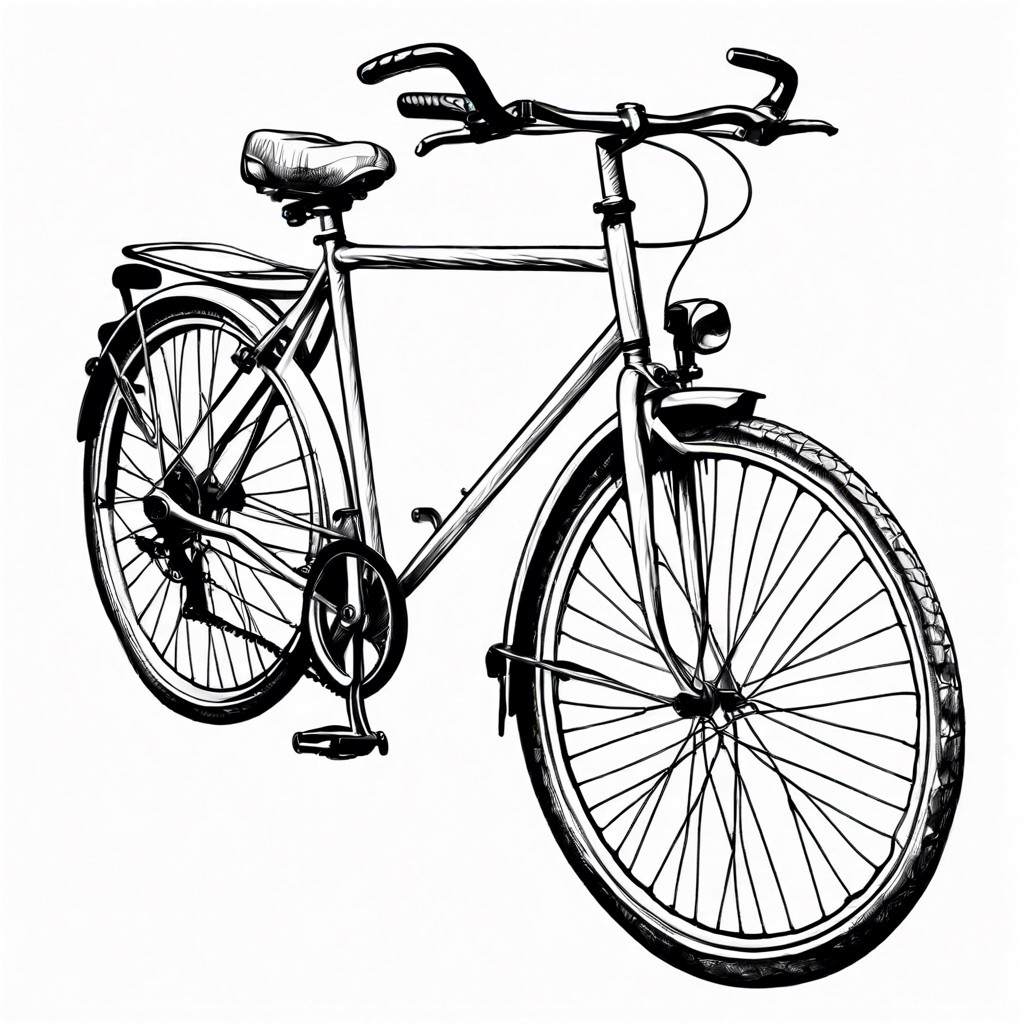
Learn the steps to accurately sketch a bicycle, from outlining basic shapes to adding intricate details for a realistic drawing.
Key takeaways:
- Gather the right materials: pencils, paper, ruler, erasing shield.
- Start with a simple diamond shape for the frame.
- Add circles for the wheels, align with the frame.
- Include seat, handlebars, fork, and rear triangle for realism.
- Draw the chainring and crankset near the bottom.
What You’ll Need

Before embarking on your drawing journey, gathering the right materials primes you for success. A pencil with good erasers is indispensable, as mistakes are natural and correcting them is part of the process. Opt for a range of pencils, like HB for general sketching and a 2B for darker lines.
Quality drawing paper is next; a medium weight paper with a slight texture will hold pencil well and facilitate smooth shading. Consider using a ruler for straight lines, specifically for framing the wheels and handlebars accurately.
Erasing shields can help with precision when removing unwanted lines near completed sections. Optional materials include colored pencils or markers for those wishing to add a pop of color to their final product. Keep a sharpener handy to maintain pencil points, ensuring clean, crisp lines throughout your work.
Easy Stepwise Instructions On How to Draw a Bike
Begin by sketching a simple diamond shape to represent the bike’s frame, ensuring the front half is slightly longer than the back for perspective. Location is key, so place this central to your page.
Next, add circles for the wheels, making sure they’re equal in size and touching the bottom point of the frame diamond. This anchors the bike to the ground.
Now draw the seat and handlebars, which should align with the top points of the diamond frame. Note that the seat is often positioned above the rear wheel.
For realism, include the fork and rear triangle, connecting the wheels to the frame. These elements are pivotal for structural integrity.
Finally, depict the chainring and the crankset near the bottom of the diamond frame, as they’re essential for bike movement. Remember that detail can be simple—suggest the shape rather than intricately illustrating each component.
Step 1: Draw the Outline of the Bike Frame
Begin with two triangles—one larger, representing the main frame, and another smaller, for the seat support—linked by a straight line that stands for the seat tube. These geometric shapes form the basic skeleton of the bike frame, which is central to the bike’s design. Ensure the top of the larger triangle slopes downward toward the seat post for an accurate road bike representation. Maintain symmetry and balance in the proportions for a realistic look. Keep the lines light at this stage; refinement comes with subsequent steps, ensuring any adjustments needed are effortlessly made.
Step 4: Draw the Front and Rear Wheels
Begin by establishing the wheelbase, ensuring the front and rear wheels are appropriately spaced apart relative to the frame size. Visualize an imaginary horizontal line extending from the bottom of the frame; this will serve as your reference for wheel placement.
First, tackle the front wheel. Position it so that its top touches the lower edge of the handlebars. Start by sketching a perfect circle, utilizing a compass for precision, or tracing around a circular object if you’re drawing freehand.
Next, move to the rear wheel, aligning it with the front wheel. The circles should mirror each other in size and shape to maintain symmetry and proportion.
Once the basic circles are set, enhance the wheels’ realism. Add the rims by drawing smaller concentric circles within each wheel, then mark out the spokes radiating from the wheel’s hub to the rim. The spokes should be evenly spaced, and they typically number 32 or 36 for a standard bike wheel.
Remember, wheels are not simply flat objects; they have depth. Depict this by giving a slight thickness to the tires. An additional, slightly curved line around the circumference of each wheel achieves this three-dimensional effect.
Fine-tune the wheels with attention to detail, ensuring they look sturdy and capable of supporting the bike. These careful touches will contribute significantly to the integrity of your overall bike illustration.
Step 6: Illustrate the Pedals and Chain
Begin by sketching a small circle near the lower end of the bike frame for the pedal hub. Attach an oval shape to this hub, skewed at a slight angle to hint at perspective – this represents the pedal. For realism, the pedal on the far side of the bike should be drawn slightly above and behind the near pedal, correlating with the alternate positioning as if ready for a pedal stroke.
Next, tackle the chain. The simplest way to represent this is by drawing two parallel lines that loop from the pedal hub to the rear wheel hub. To suggest the bike chain’s texture, include short diagonal lines within these parallels. These marks symbolize the chain links and should be evenly spaced to convey uniformity.
It’s important to maintain proportion. The hub-to-pedal distance should be less than the hub-to-wheel distance to ensure proper scale. Keep lines light and fluid, as the components here are smaller and require a delicate touch for accuracy.