Determining the correct bike size involves understanding key measurements and how they relate to your body’s proportions for an optimal cycling experience.
Measuring bike size correctly is crucial to ensuring a comfortable and efficient ride. This process involves two primary measurements: the size of the bike frame and the size of the wheels.
The bike frame size is typically measured in centimeters or inches from the center of the bottom bracket (where the pedal cranks attach) to the top of the seat tube. The wheel size, on the other hand, is usually stated in inches or millimeters and can be found on the tire itself.
Understanding these measurements and how they relate to your own body proportions is key to finding a bike that fits you perfectly. In this article, you’ll find a comprehensive guide to accurately measuring bike size and making sense of these measurements.
Key takeaways:
- Bike size affects comfort, handling, and pedaling efficiency.
- Different bike types have unique measurements and size ranges.
- Measuring inseam and height helps determine appropriate bike size.
- Use bike sizing charts as a starting point, but personal comfort matters.
- Test the bike for saddle position, handlebar comfort, and knee position.
Importance of Correct Bike Size
Selecting an accurately sized bike is paramount for several reasons. Firstly, a correctly sized bike improves comfort during the ride, which is key for longer journeys or competitive cycling.
Secondly, it enhances manoeuvrability and control, ensuring your safety while navigating various terrains. Lastly, it can bolster pedalling efficiency, enabling you to conserve energy and achieve increased speed.
All these factors combined amplify your overall cycling experience.
Types of Bikes and Their Measurements
Each bicycle variant has distinct measurements to consider due to their specific functionalities. Mountain bikes, designed for off-road adventures, measure the distance from the center of the bottom bracket to the top of the seat tube, typically offering sizes from 13 to 24 inches.
Road bikes, engineered for speed, generally measure from the center of the crank or bottom bracket to the top of the seat tube, with common sizes ranging from 48 to 63cm.
Meanwhile, hybrid bikes combine the features of mountain and road bikes, so their sizes can vary significantly. These variants can range from petite to extra-large.
Lastly, BMX bikes, notorious for stunts and jumps, have a different approach to size. They predominantly rely on the top tube length, measuring between 20 to 24.5 inches.
Always remember, the right bike fit hinges heavily on these measurements and personal comfort.
Measuring Your Inseam
The first step involves accurately gaiving a grasp on your inseam measurement. This measurement is pivotal to ensuring that your bike is a perfect fit for you.
A simple method to ascertain this is by standing barefoot with your back against a wall, holding a book in between your thighs as high as possible.
Now, you can measure the distance from the top edge of the book to the floor. This length is your inseam measurement and plays a key role in determining the correct bike size.
Remember, precision is crucial here, so getting an extra pair of hands can’t hurt.
Determining Your Height
For accurate results, stand straight against a wall, without shoes, and make a small mark level with the top of your head. Measure from the floor to the mark using a measuring tape in either feet/inches or centimeters, based on your preference.
Make sure to register this value securely, as it will aid in the future calculation of the ideal bike size. It’s a reliable indicator that bike manufacturers consider significantly when designing different bike sizes.
Relation Between Your Height and Bike Size
Matching your height to the bike size is a key step for optimal comfort and performance. Typically, manufacturers relate bike size as the length of the seat tube, expressed either in centimeters or as extra small (XS) through extra large (XL).
With regard to height, this sizing translates as follows:
- Individuals between 4’11” to 5’3” (150cm – 160cm) generally fit into the small category with seat tube length between 47-50 cm or size XS to S.
- For those standing 5’3” to 5’7” (160cm – 170cm), a medium frame from 51-54 cm or size S to M is often suitable.
- Persons with height 5’7” to 5’11” (170cm – 180cm) typically align with M to L sizing. They usually need a frame from 55-58 cm.
- Finally, individuals taller than 5’11” (180cm and more) will most likely feel comfortable on a bike with a seat tube length of 58-61 cm or size L to XL.
These ranges primarily act as a guide. Factors like your inseam length and the type of biking you intend to do can influence the final decision.
Bike Sizing Chart Overview
Understanding a bike sizing chart can greatly help in determining the right bike size for each individual. These charts usually provide a detailed correlation between the rider’s height and the bike frame size.
Firstly, these charts are divided by bike type – such as road bikes, mountain bikes, and hybrid bikes – each with unique sizing conventions. For instance, road bike sizes are usually given in centimeters, while mountain bikes are measured in inches.
Furthermore, within the classification of each bike type, the chart specifies the appropriate frame size. For example, a person with a height of 5’3″ – 5’6″ might necessitate a road bike with a frame size of 52-54 cm.
However, take note that these charts are by no means absolute. Individual body proportions such as leg length or torso length might require alterations from the standard given size.
Lastly, remember that these charts serve as an advantageous starting point. It’s always imperative to try out the suggested size for real-world fit and comfort.
How to Measure a Bike Frame
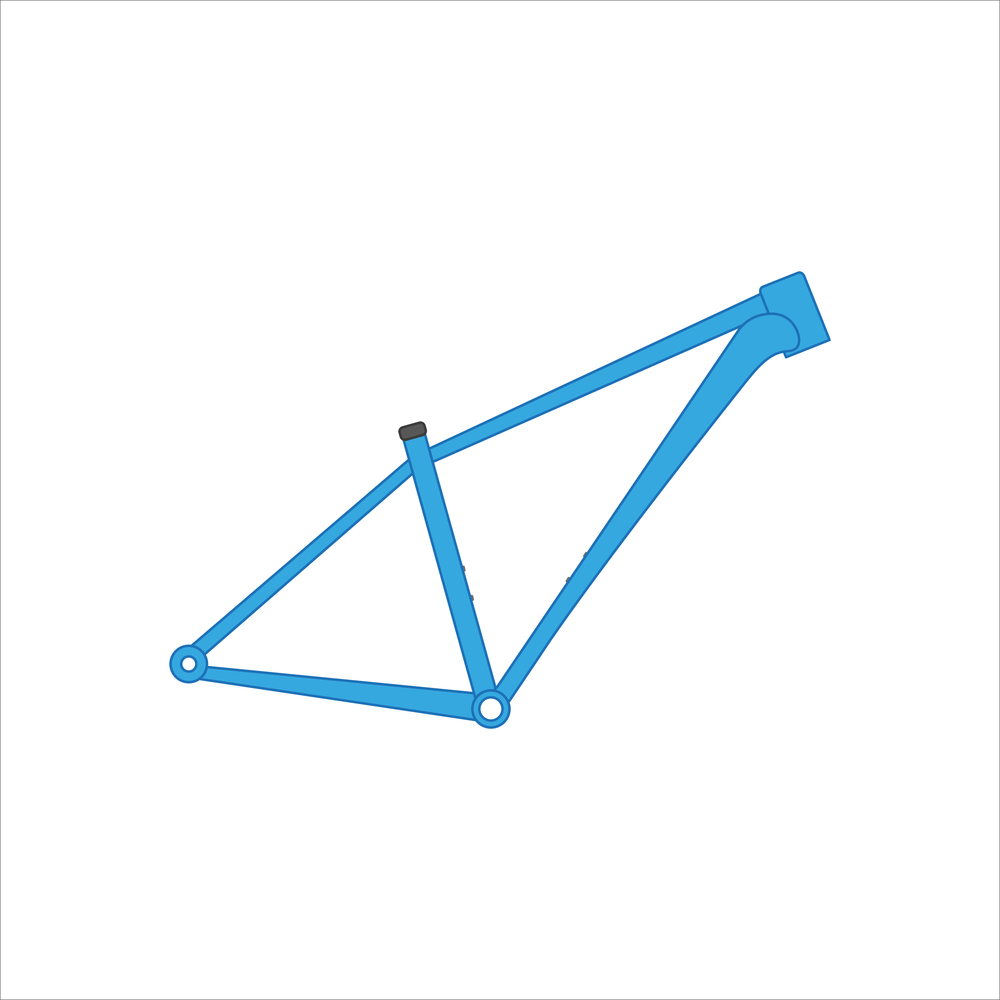
One of the most critical points in measuring a bike frame is knowing where to start and end your measurement. The process involves measuring the length of the seat tube – the part of the frame that runs from the saddle down to the middle of the pedals. This is the common area on any bike frame, irrespective of the bike type.
Here’s how it’s done:
- 1. Locate the top of the seat tube, where the seat clamp holds the saddle. It’s important to ensure that the saddle is removed or fully lowered.
- 2. Identify the center of the bottom bracket (the circular housing that holds the crank), this marks the base of the seat tube.
- 3. Measure from the top of the seat tube down to the center of the bottom bracket. The distance you get in centimeters is the size of the bike frame.
Keep in mind that the handlebars and the saddle should be level when taking measurements, and the measurement should be made perpendicular to the ground. This ensures a consistent and accurate measurement.
Measuring Mountain Bike Size
Even though it might seem daunting, getting the precise measurement for your mountain bike isn’t a complex task. Start with the standover height. Ensure you’ve about two inches of clearance between yourself and the top tube when you stand flat-footed.
Next, focus on the reach. For mountain bikes, unlike road bikes, you need a slightly more upright position, so go shorter rather than longer. Too long a reach can cause back pain and make the handling needlessly tricky, so be cautious.
Lastly, take the frame size into account. Mountain bike sizes are oftentimes labeled as small, medium, and large instead of precise measurements. Use bike manufacturer’s sizing charts for reference to choose the frame size. It’s not an exact science, but these guidelines act as good starting points to get the fit close to the mark.
Measuring Road Bike Size
When it comes to specific road bike measurements, there are two critical dimensions you should take into account: the top tube length and the standover height.
The top tube length, which is the distance from the seat post to the stem, influences how far you’ll need to lean to grip the handlebars. For an optimal blend of speed and comfort, this distance should be roughly the same as your torso length plus half your arm length.
Standover height, on the other hand, refers to how much room you have between yourself and the top tube when you’re standing over the bike. There should be at least a couple of inches of clearance to accommodate any sudden dismounts.
These dimensions should be listed by the manufacturer of your chosen model. Take note of these specifics and use them alongside your personal measurements to choose the right road bike size. Remember, knowing your bike size makes for a more comfortable and safer cycling journey.
Testing The Bike for Comfortable Fit
Upon finding a bike that matches your height and inseam measurements, the next crucial step is the comfort test. It’s a subjective and vitally important part of the bike selection process. Here are things to check:
- Saddle Position: While seated, your feet should only touch the ground on tiptoes. If your feet are flat on the ground, the bike is likely too small.
- Handlebars: When riding, your back, neck, and wrists shouldn’t bear excessive strain. If they do, you might need to adjust the handlebar height and some other aspects.
- Knee Position: As you pedal to the furthest point, your knee should have a slight bend. If it’s straight, the bicycle might be too big; if it’s bent too much, the bike is likely too small.
- Body Space: A general rule is to maintain a one to two-inch clearance between yourself and the top tube on a road bike, and a two to four-inch gap for a mountain bike.
Remember, no adjustment can compensate for an ill-fitting bike, so take your time to perform this test effectively.
Adjusting Your Bike Post-Purchase
Post-purchase bike adjustments ensure optimal comfort and performance. For seat height, position yourself on the saddle with one foot on a pedal. At the lowest point of the pedal cycle, there should be a slight bend in your knee. Your riding comfort significantly depends on the saddle positioning. Make sure it’s parallel to the ground or slightly tilted upwards.
Also, adjust the handlebars. A comfortable reach is crucial for control and balance. Higher handlebars offer more upright posture – appropriate for leisure rides, whereas lower ones are ideal for speed and performance. Lastly, optimize the gear settings in accordance to your terrain and power. A timely tune-up from a professional can provide more precise adjustments. Now, a customized cycling experience awaits!
FAQ
What does a 26 inch bike mean?
A 26 inch bike refers to a bicycle with a wheel size of 26 inches, which is commonly found on various adult frame sizes despite not being the most accurate measure of the bike’s overall size.
What does a 20 inch bike mean?
A 20 inch bike refers to a bicycle with a wheel size of 20 inches, a common size usually found after 14” and 16”, and is predominantly used in BMX bikes.
How are kids bike sizes measured?
Kids bike sizes are determined based on the diameter of the wheels, commonly ranging from 12, 16, 20, to 24 inches.
How does one determine the appropriate frame size for an adult bicycle?
To determine the appropriate frame size for an adult bicycle, measure the cyclist’s inseam in inches and multiply it by 0.65.
What factors influence the selection of wheel size in children’s bikes?
The selection of wheel size in children’s bikes is influenced primarily by the child’s age, height, and skill level.
How is the standover height of a bike measured?
The standover height of a bike is measured by taking the distance from the ground to the top of the bike’s top tube; ideally measured in centimeters or inches.
Related
- Bike Size for Height: Choose the Right Bicycle for Your Frame
- How to Measure Bike Frame Size: Step-by-Step Instructions
- What Size Mountain Bike Do I Need: Choosing the Right Fit for You
- How to Determine Bike Size: Choosing the Perfect Fit for Your Ride
- What Size Bike Do I Need: Find Your Perfect Fit