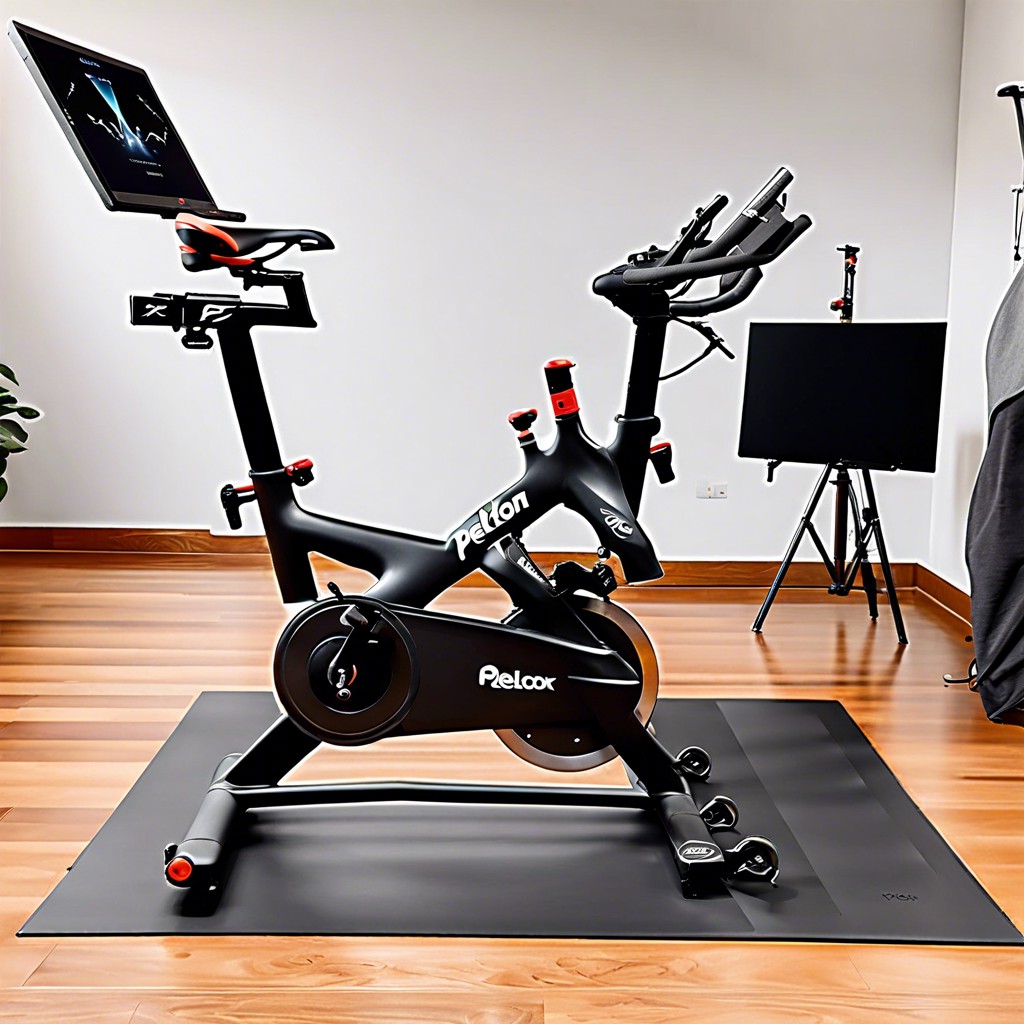
Learn the safe and effective steps to remove a Peloton screen for maintenance or transportation purposes.
Key takeaways:
- Have the required tools and materials ready.
- Power down and unplug the Peloton screen.
- Locate and operate the screen release lever.
- Disconnect the data cable carefully.
- Lift the screen away with a secure grip.
Required Tools and Materials

Before beginning the removal process, ensure you have the correct tools and materials at hand. You’ll need a Phillips-head screwdriver to unfasten the screws that secure the Peloton screen to the bike. Additionally, prepare a soft, clean cloth to protect the screen once it’s removed and to avoid scratching the surface. Keep a small container nearby to hold the screws and prevent them from getting lost. It’s also advisable to have some cable ties or Velcro straps available to neatly manage any loose cables after the screen is detached. Make sure to give yourself ample space to work, with a stable surface to place the screen on once it’s been disconnected.
Power Down and Unplug the Peloton Screen
Before starting any work on the Peloton screen, ensure the bike is powered off to prevent any electrical hazards. Find the power button, typically located at the back of the touch screen or near the bike’s base, depending on the model. Hold it down for a few seconds until the screen goes dark. After shutting down, unplug the power cord from the wall outlet and the back of the screen to completely cut off any power supply. This step is crucial not only for safety but also to protect the bike’s electronic components from potential damage during the screen removal process. Always handle the power cord with care, avoiding any forceful tugging that might damage the connector or the port.
Locating the Screen Release Lever
To locate the screen release lever, examine the back of the Peloton’s display monitor. You will find the lever towards the bottom, often nestled in an inset area to protect it from accidental engagement. It’s designed to blend seamlessly with the screen’s housing, making it less conspicuous.
Grasp the lever firmly with your fingers. If the lever is stiff or seems difficult to engage, ensure you’re applying a steady force directly inward towards the screen. The mechanism is built to resist unintentional release, requiring a firm and deliberate action to activate.
Once you’ve identified and operated the lever correctly, you’ll feel the monitor slightly release from its bracket, signaling that it’s ready for the next step in the removal process. Keep in mind that you should support the screen with your other hand while performing this step to prevent any strain on the connected cables or the mount itself.
Disconnecting the Data Cable
After the screen release lever has been activated, gently lower the screen, exposing its rear side where the data cable is attached. This cable transmits information between the screen and the bike’s hardware, constituting the interactive component of the Peloton experience.
Situate yourself so you can clearly see the connection point. Handle the cable with care, grasping the connector—not the cable itself—to avoid damaging the delicate wires. Squeeze the sides of the connector to release the locking mechanism, then pull directly away from the port to disconnect it.
This step is crucial to prevent damage to the screen electronics or the bike’s data port. Ensure that no tension is placed on the cable during removal. If resistance is felt, double-check the connector to make sure the lock has fully released before attempting to pull it out again.
Lifting the Screen Away From the Bike
Gently grasp the screen on both sides once the data cable is disconnected. It is essential to use a secure but careful grip to prevent dropping or damaging the screen. Ensure your movements are steady and smooth; jerking or pulling too hard can cause damage to the remaining connected components or the screen itself.
Begin to lift the screen straight up, away from the mount. Some resistance is normal due to the snug fit of the screen on the bracket, but excessive force should not be necessary. If resistance is felt, double-check to ensure all cables are completely detached and no additional locking mechanisms are engaged.
As you remove the screen, be mindful of how the weight shifts. The screen is the interface for the Peloton’s software, and its integrity is crucial for the optimal functioning of your bike. Handle it as if it were a large tablet or a lightweight monitor. If possible, enlist the help of another person to manage the cables as you focus on supporting the screen.
Once the screen is free from the mount, place it on a flat, stable, and cushioned surface. This will protect the screen from scratches or pressure points that could cause damage. If you intend to transport the screen, consider wrapping it in a protective layer such as foam or bubble wrap.
Related
- Sell Peloton Bike: Step-by-Step Guide to Successfully Selling Your Used Equipment
- Peloton Bike Buying Guide: Choose the Right Model for You
- Calories Burned Biking: Factors, Calculations & Tips for Efficiency
- What Muscles Does Cycling Work: A Handy Guide
- Stationary Bike Muscles Worked: Which Muscle Groups Are Targeted?