Learn how to effectively remove rust and restore smooth operation to your bike chain with practical steps and maintenance tips.
Key takeaways:
- Inspect chain for rust severity.
- Consider cleaning or replacing rusty chain.
- Gather necessary tools and materials.
- Clean chain with degreaser and brush.
- Lubricate chain for smooth operation and rust prevention.
Inspecting the Chain for Rust Severity
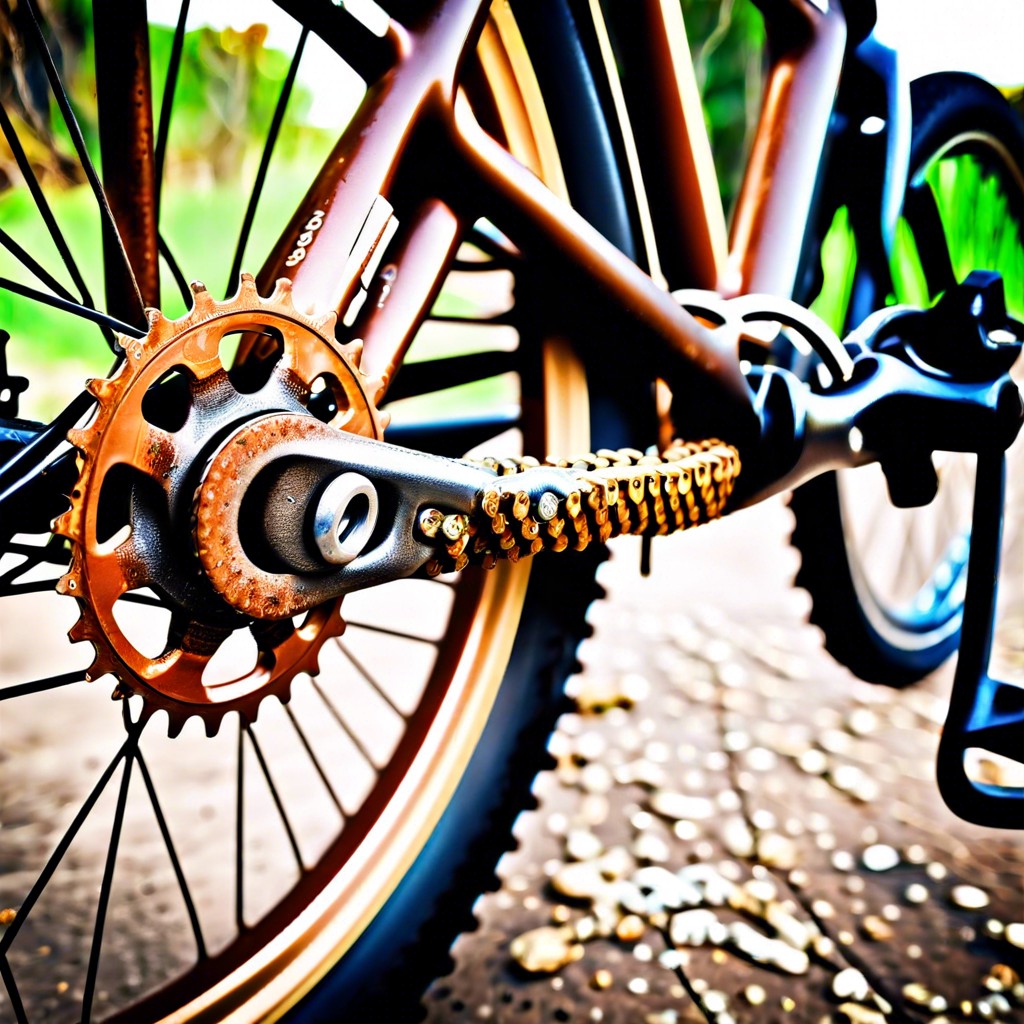
A close examination of your bike chain will reveal the extent of rust damage. Look for surface rust, which often exhibits a reddish-brown discoloration and is generally easier to treat. This superficial rust can usually be cleaned off, potentially restoring the chain to good working condition.
In cases where the rust has penetrated deeply, compromising the integrity of the chain, the links may be stiff, or you might notice pitting on the metal. A chain in such a state poses a safety risk, as it is significantly weaker and could break under strain. This level of corrosion typically calls for a chain replacement to ensure both optimal performance and rider safety.
Identifying the severity of the rust can be done through visual inspection and by attempting to flex the chain. A pliable chain that articulates smoothly between the links is likely salvageable, whereas one that resists bending or has brittle links needs to be replaced. Remember, a well-maintained chain not only shifts gears more smoothly but also prolongs the lifespan of your drivetrain.
Should I Clean My Rusty Bike Chain Or Replace It?
Evaluating the extent of rust on your bike chain is crucial in deciding whether to clean it or opt for a replacement. Minor surface rust can often be remedied with thorough cleaning and lubrication. However, significant rust that compromises the integrity of the chain links or their movement indicates that a replacement is the safer and more effective choice.
Rust not only affects the appearance but also impacts the chain’s performance. A rusty chain can cause poor shifting and increased wear on cogsets and chainrings, leading to more expensive repairs if not addressed promptly.
Consider the age and condition of your bike chain. If the chain is relatively new and the rust appears superficial, cleaning might restore its functionality. On the other hand, an old chain that has undergone significant wear and tear, indicated by stiff links or difficulty in rotating, would benefit from being replaced to ensure optimal performance and rider safety.
Cost is also a factor to keep in mind. If you possess the tools and are comfortable with the cleaning process, removing rust might be more economical. But if the chain’s condition necessitates professional assistance, the cost of service added to the cleaning products might approach or exceed the price of a new chain, in which case replacement is the more cost-effective option.
Ultimately, the decision to clean or replace should align with safety, performance, and cost considerations. A meticulously maintained chain will result in smoother rides and prolong the lifespan of your bike’s drivetrain components.
Tools and Materials Needed for Chain De-rusting
Before diving into the de-rusting process, ensuring you have the right tools and materials is crucial. For this task, you will need:
- Degreaser: A high-quality degreaser is essential for breaking down grease and rust. Choose a formula designed for bike chains to avoid damage to the chain or your bike’s finish.
- A wire brush or steel wool: These are perfect for scrubbing off surface rust and penetrating tighter chain links. Steel wool is especially effective for finer particles.
- Lubricant: After cleaning, a good bike-specific lubricant will not only reduce future rust but also ensure smooth chain operation.
- Rags or towels: Have plenty of clean rags on hand for wiping down the chain during and after the cleaning process.
- Disposable gloves: Protect your hands from grease, rust, and chemicals during the cleaning process.
- A chain tool (optional): If the chain requires dismantling, especially for thorough cleaning or replacement, this tool will be necessary.
Gather these materials before starting, as a seamless process will provide the best results for a rust-free and well-functioning bike chain.
Step 1: Clean Your Chain With a Degreaser
Begin the cleaning process by shifting gears to position the chain on the smallest cog, providing better access. Next, apply a liberal amount of degreaser onto the chain. You can use a specialized bike degreaser or opt for a household degreasing agent if a bike-specific one isn’t available.
Using a firm-bristled brush, work the degreaser into every link of the chain. For particularly stubborn rust, a chain-cleaning tool can provide a more thorough scrub. Encase the chain with the tool and rotate the pedals backward, allowing the brushes inside to scrub the chain.
Let the degreaser sit for the recommended time before rinsing it off thoroughly with water. A hose works best for this, ensuring no degreaser residue remains as it can attract dirt if not completely washed off.
After rinsing, dry the chain using a clean, lint-free cloth. Allow the chain to air dry completely before moving on to lubrication—it’s critical that no moisture is trapped before the next step. Remember, degreasing strips away all lubricants, hence, this process prepares the chain for fresh lubrication, essential for protecting the metal from future rust.
Step 2: Lube Your Chain
Once your bike chain is clean and free from rust, applying a lubricant is the next critical step. Lubrication reduces friction between the metal links and rollers, minimizing wear and prolonging the chain’s life. It also offers a protective barrier to prevent the return of rust.
Select a lubricant suitable for the riding conditions. For dry and dusty environments, a dry lube is preferable as it doesn’t attract dirt. Wet lubes are better for moist conditions, providing a more durable moisture-resistant coating.
Apply lubricant sparingly to avoid attracting excess grime. Drip the lube onto each link as you slowly rotate the pedals backward, ensuring coverage inside the rollers. After application, cycle the chain through several revolutions to distribute the lubricant evenly.
Wipe away excess lubricant with a clean cloth. Excess lube can attract dirt and contribute to the formation of grime, counteracting the benefits of your cleaning efforts. The goal is a thin, even coat that allows for smooth operation without turning into a magnet for dust and debris.
Regular post-ride maintenance involving a quick wipe and reapplication of lube can significantly extend the life of a bike chain, especially if it has been previously compromised by rust.
Related
- Clean Bike Chain: Step-by-Step Guide for Effective Maintenance
- How to Lube Bike Chain: Easy Steps for Smooth Cycling
- How to Remove Rust from Bike Chain: Easy Steps for a Smooth Ride
- How to Clean Bike Chain: A Comprehensive Guide to Maintain Your Bike
- How to Clean a Bike: A Detailed Guide for Maintaining Your Ride