Discover the simple steps to effortlessly change a bike tire and get back on the road in no time.
Changing a bike tire is a simple yet essential skill for every cyclist. This article provides a step-by-step guide on how to change a bike tire, covering everything from the tools required, to removing the old tire, and installing the new one.
Whether you’re a seasoned cyclist or a beginner, understanding this process can save you time, money, and the inconvenience of being stranded due to a flat tire.
So, let’s delve into the details and get your bike back on the road in no time.
Key takeaways:
- Gather necessary tools and materials before starting
- Learn how to remove the wheel and disconnect the brake cables
- Deflate the tire and loosen the valve retaining nut
- Use tire levers to unhook the tire from the wheel
- Reinstall the wheel and understand different valve types
Required Tools
First and foremost, ensure you have the necessary apparatus on hand. A set of tire levers, the most vital, will make prying the tire off the rim a hassle-free task.
Next, a bicycle pump is needed; this might be a standing pump for a more effective inflation at home or a mini-pump for on-the-go repairs.
A puncture repair kit containing patches and glue is another must-have.
Don’t forget a spare inner tube; because in extreme cases where the puncture is too large to be patched, replacing it might be the only choice.
Lastly, a spanner, ideally an adjustable one, will come in handy when dealing with wheel nuts on the older style of bicycles.
Provision of these tools will undoubtedly simplify the tire-changing process.
Required Materials
To get started, gather these tools: tire levers, a bicycle pump, and a new inner tube or a patch kit.
Tire levers are essential for removing the old tire and tube – their unique shape provides leverage and helps prevent damaging the rim.
A bicycle pump is necessary for inflating the new or patched tube.
And lastly, a new tube or patch kit – depending on whether the tube is punctured or if you’re simply being proactive in replacing older tubes.
Have all your materials collected in your workspace to promote efficiency in the process.
Remove the Quick-release Lever or Wheel Nut
Firstly, you’ll need to unfasten the wheel; it’s usually secured by one of two mechanisms – a quick-release lever or a set of wheel nuts.
If your bicycle has a quick-release system, simply unscrew the lever until it’s loose enough to pull back – but remember not to completely unscrew it.
This action will trigger the tension to lessen, leading to the wheel’s easy release.
Conversely, if there’re wheel nuts, a wrench (commonly sized 15mm) should do the trick.
Turn it counterclockwise to loosen and remove the nuts on both sides.
Be sure to place the nuts in a secure location for easy retrieval when reattaching the wheel.
With either mechanism, ensure to support your bicycle properly to prevent it from tipping over once the wheel is off.
Disconnect the Brake Cables
Ensure your bike is stable before beginning – either flipped on its handlebars and seat or on a work stand. With a firm grip on the brake arms, pinch them together towards the wheel. This action will relax the brake cable, allowing easy removal of the cable from the brake mechanism.
Be sure to pay close attention during this process. Knowing the precise positioning of all components is crucial for a successful reassembly. A tip to remember: in most modern bikes, the brake cable slips out of the brake mechanism after pressing the brake lever fully. Lastly, always try not to bend the brake cable when disconnecting it, to ensure a seamless reconnection. Remember, a proper brake cable disconnection allows more room to comfortably remove your wheel for the tire change!
Deflate the Tire and Loosen the Valve Retaining Nut
Begin by releasing all the air from your tire. This can be achieved by depressing the pin inside the valve stem; use the cap if it has a pin, or the end of a tire lever. Some cyclists choose to use an old spoke for this task to prevent potential damage. Be sure to let out as much air as possible to make the next steps easier, yet be careful not to damage the valve.
Once empty, focus on the valve retaining nut. You’ll find this piece of hardware located at the base of the valve where it protrudes through the rim. In most cases, this nut can be loosened by hand, but a small adjustable wrench might be necessary for stubborn or overly tightened nuts.
Bear in mind, the purpose of this activity is to slacken the tire’s grip on the wheel’s rim, which allows for its eventual removal. Finally, remember not to fully detach or disconnect the valve or the retaining nut just yet – it should simply be loosened enough to move freely.
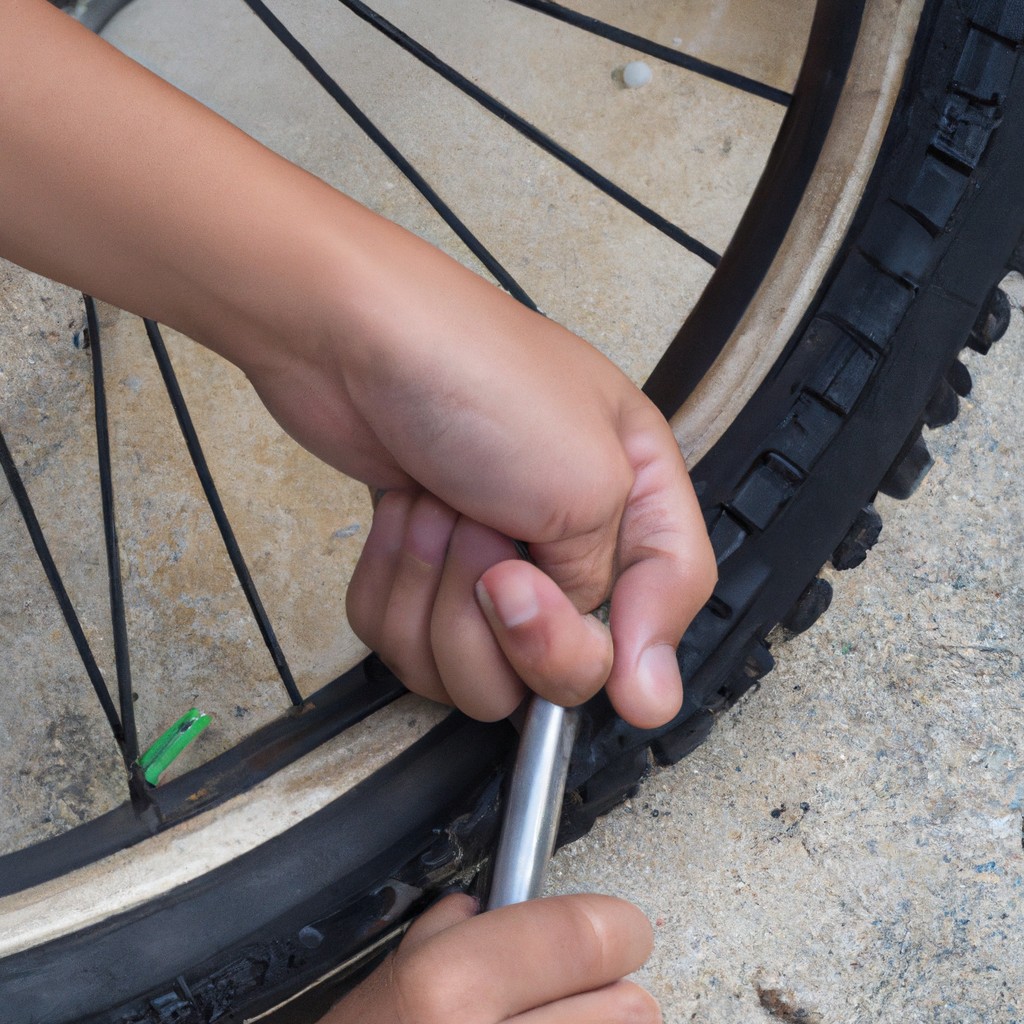
Unhook the Tire From the Wheel With Tire Levers
Once your bike wheel is upturned and stable, it’s time to reach for your tire levers. These are specialized tools designed to ease the process of removing the tire from the rim. Begin by fitting one lever under the bead of the tire, the portion that sits directly on the rim. When the lever is securely hooked onto the bead, flick it upwards. This action should lift the bead over the edge of the rim.
On the opposite side of the tire, repeat the process using your second tire lever. Ensure that a gap of approximately 10 to 15 cm is maintained between the levers to effectively dislodge the tire from the rim. Once the bead has been lifted on both sides, you should be able to easily slide one lever around, freeing the rest of the tire.
Remember to be gentle; applying too much force can rip the tire or damage the rim. Progress might be slow, but patience will pay dividends. Use the time to check the interior of the tire and rim for any debris or sharp objects.
Also, keep in mind the placement of the valve. To avoid damaging it during tire removal, always start at a point furthest away from the valve, then work around the tire. It’s a crucial measure to prevent unnecessary damage.
By following these systematic and measured steps, you will have unhooked the tire from the wheel with minimal fuss and maximum effectiveness.
Add Air to the New Tire Tube
Start by partially inflating the replacement tube just so it holds its shape. This makes it easier to fit within the tire and helps avoid twists or kinks. Be careful not to over-inflate as this might cause issues when mounting the tire back to the rim. Then, align the valve of the tube with the valve hole in the rim. Feed the tube into the tire and make sure it’s evenly distributed around the wheel. This stage plays a crucial role in preventing pinch flats. Remember, it’s important to have the right tube size that fits your tire perfectly to ensure optimal performance.
Inspect and Refit the Tire
Upon removal of the deflated tube, attentively scrutinize the tire on both the interior and exterior surfaces for any sharp objects, punctures, or tears that could have led to the flat. Sweep your fingers carefully along the inside of the tire to feel for anything unusual.
Next, take the new or repaired tube and partially inflate it just enough to keep the form without too much expansion. Then, carefully fit the semi-inflated tube into the tire. Ensure the valve aligns perfectly with the hole in the rim.
Start refitting the tire onto the rim by the area opposite the valve. Use your thumbs to press the bead, which is the tire’s edge, back onto the rim. Work your way around the wheel, fitting the tire back onto the rim on both sides. This task can get difficult near the end, but be persistent and patient; a drastically forced fitting might pinch the tube against the rim and puncture it.
Lastly, push the valve up into the tire to confirm the bead sits correctly under it, then pull it back down. The tire should now be back on the rim with the tube neatly tucked inside.
Fully Inflate the Inner Tube
Inflating the tube to its optimum pressure will significantly boost performance and security. Always consider the manufacturer’s recommended pressure range, typically displayed on the tire’s sidewall. Use a bike pump with a pressure gauge for accuracy.
Before you begin, just partially inflate the tire to give it shape, easing the process of fitting the tire back onto the wheel. After safely housed in the tire, inflate the tube to the recommended pressure. Proper inflation prevents tire damage and provides a smoother, more efficient ride.
Reinstall the Wheel
Start by positioning the wheel back onto the bike frame, ensuring that the chain wraps correctly around the rear sprocket for bikes with gears.
Buttress the wheel in the dropouts, which are the slots where the wheel attaches to the frame.
Tighten the quick-release lever or, if your bike has one, the wheel nut.
Double-check to confirm the wheel is centered in the frame and not rubbing against the brake pads.
Lastly, reattach the brake mechanism, making sure it’s functioning properly for safe cycling.
Understand Valve Types
Bicycle tires typically feature two primary valve types: Presta and Schrader. Schrader valves, similar to those common on car tires, are typically found on mountain bikes and kid’s bikes. They are wider, covered with a cap, and easy to inflate using standard pumps.
On the other hand, Presta valves, slimmer and recognizable by their locknut at the top, are typically installed on road bikes due to their high-pressure capacity. Notably, they require a smaller hole in the rim, reducing its likelihood to crack under load. Presta-specific pumps or pump heads are needed to inflate these tires effectively. Familiarising with these valve types helps choose the right pump, making your tire-changing task easier.
Utilize a Tire Repair Kit
A tire repair kit contains essential tools such as tire levers, a patch kit, and a small air pump.
Tire levers are instrumental in removing the tire from the rim, especially when the tire sits tight. Take care not to pinch the tire tube while using these.
The patch kit is your remedy for holes and leaks. It contains an adhesive and several patches. Once you locate the leak, generously apply this adhesive around the hole, then place the patch over it. Ensure the patch completely covers the hole and that there is enough adhesive all around it for a tight seal.
Lastly, the included air pump is utilized to inflate the tire tube after the repair. Its compactness allows for roadside repairs, making the kit an excellent companion for long rides.
Remember; always have a repair kit on your rides. Its utility during unexpected punctures is indispensible. Keep it easily accessible, and ensure it is well-stocked at all times. Lastly, familiarize yourself with its use before setting out on your adventures.
Teach Kids How to Change a Bicycle Tire
Starting with an uninflated, spare tire and wheel, allow children to familiarize themselves with each item individually.
Point out the various parts like the valve, spoke, rim, and treads on the tire.
Once they have a basic understanding, show them how to align the new tire with the wheel, ensuring the valve is positioned correctly.
Teach them to fit one side of the tire into the wheel rim initially, then to add the inner tube and route the valve through the hole in the rim.
At this stage, a small amount of air in the tube can help keep its shape.
Next, they should fit the remainder of the tire into the rim, carefully using plastic tire levers if needed.
Checking for any kinks or buckles is crucial before pumping more air into the tube.
Finally, guide them in attaching the wheel back to the bike frame, emphasizing the importance of ensuring all parts are secure.
Encourage them to clean up their workspace to instill good habits.
Making this a fun learning experience will keep kids engaged and excited about cycling maintenance.
FAQ
Can you replace a bike tire yourself?
Yes, it is feasible to replace a bike tire yourself, which typically involves replacing the tube inside the tire but may necessitate a new tire if the existing one is excessively worn or damaged.
Are bike tires hard to replace?
While replacing a bike tire may present a challenge to beginners, it becomes relatively straightforward with proper knowledge and practice.
Do you need a tool to change a bike tire?
Yes, to change a bike tire, you typically require a tool such as a wrench or special tools for theft-proof skewers if you lack a quick-release feature.
What are the essential steps in changing a bike tire?
To change a bicycle tire, one needs to deflate the existing tire, pry it off with a tire lever, remove the inner tube, inspect the tire for punctures, place a new inner tube within the tire, put the tire back on the wheel, and inflate it.
How often should you replace your bike tires?
Bike tires should generally be replaced after they've covered about 2,000 to 3,000 miles, depending on the type and quality of the tire.
What size tire do I need for my bicycle?
The size of the tire needed for your bicycle are typically printed on the side of your current bike tires, represented as a series of numbers (like 700×23 or 26×2.0), where the first number indicates the tire diameter in millimeters or inches, and the second number represents the tire width.