Discover the simple steps to changing a bike inner tube efficiently and accurately without any professional help.
Changing a bike’s inner tube is a straightforward task that every cyclist should master. This article provides a step-by-step guide on how to do just that.
From identifying the puncture, selecting the right replacement tube, to the actual process of changing the tube, everything is covered in detail. By the end of this guide, you’ll have all the knowledge needed to change a bike inner tube like a pro.
So, whether you’re a beginner or an experienced cyclist, this guide has got you covered. Let’s dive in.
Key takeaways:
- Select the right tools for changing a bike inner tube
- Deflate and unseat the bike tyre carefully
- Use tyre levers to remove the tyre without damage
- Inspect the tyre for punctures or wear and tear
- Install the new inner tube with patience and precision, and inflate it to the correct pressure.
Tools Needed for Bike Inner Tube Change
To successfully accomplish this procedure, it would be prudent to have these tools at hand:
- Tyre Levers: These are pivotal for prying the tyre off the wheel rim. These are often sold in sets of three and having a few spared can be useful.
- New Inner Tube: Select a tube that matches the size of your tyre. This information can usually be located on the side of the tyre.
- Bicycle pump: This tool will be used to inflate the new tube. A pump with a pressure gauge is preferred, but any bicycle pump should do.
- Wrench: Depending on your bike setup, you may need a wrench to remove the wheel from the bike frame.
Now, notwithstanding the infinite value of these tools, remember, success in this process equally hinges on your attention to each step and your steadiness.
So, let’s move on to the next part where we will be deflating the bike tyre.
Deflating the Bike Tyre
Begin by taking note of the current air pressure, as it will be informative for inflating the new inner tube.
Locate the valve on the side of the wheel and remove its cap.
Use the small pin-like protrusion on your tyre pump to press in the valve and release the air.
It’s a slow process to ensure that the tyre doesn’t flex and potentially damage the rim.
It is important to remember that you want to take the inner tube out, but you want to keep the tyre on the bike – just manageable enough to manoeuvre the new inner tube in later.
Unseating the Bike Tyre
Firstly, ensure the wheel’s quick release or axle nuts are loosened to free the wheel from the bike. Start at a point opposite the valve and place your fingers on the tyre. Apply downward pressure, pushing the tyre bead—the part that sits on the wheel’s edge—towards the centre of the wheel. This allows the bead to slip over the rim, unseating the tyre.
Remember to work your way around the tyre with both hands. It’s essential not to force it; if the bead doesn’t move easily, try pushing a little harder or using a little more of your hand to distribute the pressure. Never use a tool for this to avoid unintentional damage to the tyre or inner tube.
Note that patience is key when unseating the bike tyre. Rushing this process can lead to pinching or puncturing the inner tube. Commenting on a common misconception, the difficulty experienced during unseating the bike tyre is not synonymous with poor technique. Certain tyre and rim combinations can indeed be tougher to unseat than others.
Using Tyre Levers to Remove the Tyre
Ensure the bike is securely propped up before removing the tyre. Begin with the valve at the top and work in the opposite direction. Insert the rounded end of the first tyre lever under the bead of the tyre. Secure its opposite end onto a nearby spoke. Introduce the second tyre lever a few inches away from the first and pry the bead over the rim of the wheel. Slide this lever around the rim, effectively peeling off one side of the tyre. Remember, patience and careful handling of the levers are vital at this stage to prevent any damage to the bike tyre or wheel.
Inspecting the Bike Tyre After Removal
After removing your tyre, it’s paramount to examine it meticulously for any lingering shards of glass, thorns, or other sharp objects lodged in the rubber. These can lead to repeated punctures. First, sweep your fingers lightly around the interior surface, feeling for any edges that aren’t part of the tyre’s typical texture. The smallest protuberance might be the culprit behind your puncture. Remember, safety first! Be careful not to cut your fingers in this process.
But, don’t limit your inspection just to the interior. Flipping the tyre and having a keen for detail look at the exterior can save you loads of headache too. A seemingly innocuous piece lodged in the outside might easily penetrate the tyre and deal damage over time.
Lastly, always keep an eye out for wear and tear. An overused tyre might have thin spots or be worn out completely, making it more susceptible to punctures. You might need to replace the entire tyre, so check with your local bike shop or a reputable online retailer to buy a suitable new one. Remember, prevention is better than cure, and taking these small precautions can significantly enhance your cycling experience.
Removing and Installing the New Inner Tube
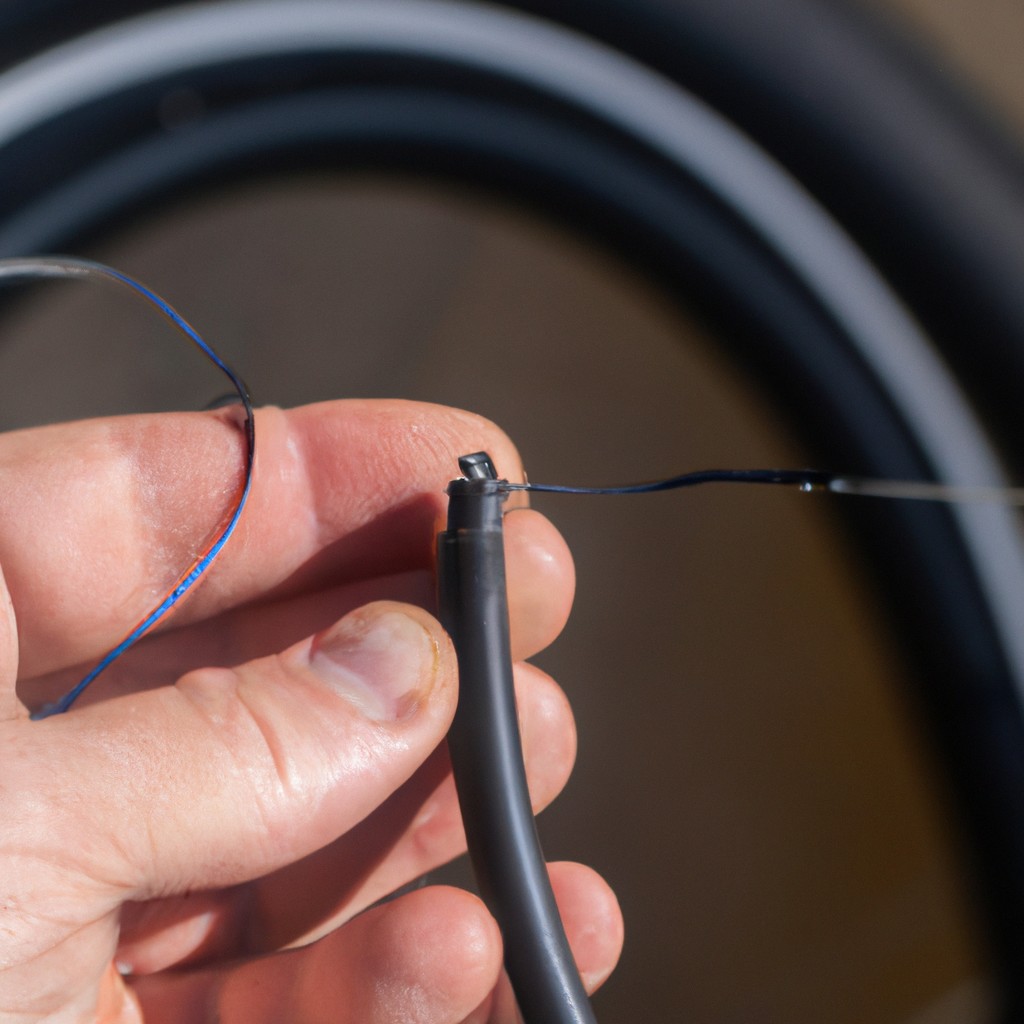
Firstly, ensure you deflate the removed tube entirely before you gently pull it out from between the tyre and the rim. Pay special attention to the valve, which often presents the trickiest part. Pull the valve out through the rim’s hole to successfully remove the tube completely.
When you’re ready to install the new tube, start by inflating it slightly. This minor inflation will help maintain the tube’s circular shape, making the installation process smoother. Next, position the tube’s valve into the rim’s valve hole while keeping the tyre out of the way.
Once the valve is securely in place, slowly tuck the remainder of the tube into the space between the tyre and rim. Carefully check that the tube isn’t twisted or caught anywhere. It’s also worthwhile to inspect the tyre’s location, ensuring it equally sits on both sides of the rim.
Remember, the installation requires patience and precision, above all. Rushing may inadvertently pinch the tube, which could lead to another puncture. Thus, take it slow, and you’ll successfully manage a bike inner tube replacement.
Inflating the New Inner Tube to Correct Pressure
To ensure optimal performance, inflate the new inner tube according to your tyre’s recommended PSI (Pounds Per Square Inch), usually marked on the tyre sidewall.
1. Begin by inserting the pump nozzle onto the valve, ensuring a proper seal. For Presta valves, unscrew the top before attaching the pump.
2. Gradually inflate the tube. If the tyre seems to bulge or the tube sticks out, deflate a little, correct the position, and continue inflating.
3. Utilise a tyre pressure gauge to measure PSI. Over-inflating can cause a rough ride or even a blowout, while under-inflating reduces efficiency and increases the risk of flats.
Remember, the right pressure depends on different factors like your weight, terrain, and personal comfort, so feel free to experiment within a safe range.
FAQ
Can you change an inner tube without removing the wheel?
Yes, it is impossible to change a bike tube without removing the wheel first, as this removal facilitates easier extraction of the tire from the rim.
What essential tools are required to change a bike inner tube effectively?
To change a bike inner tube effectively, essential tools required are a set of tire levers, a new inner tube, and a bicycle pump.
How does tire size affect the type of inner tube you should choose?
Tire size directly determines the size of the inner tube needed, as each tire size requires a specifically fitting tube to ensure optimal cycling performance and safety.
What are the key steps in identifying and repairing a puncture in a bike's inner tube?
The key steps in identifying and repairing a bike's inner tube puncture include locating the leak by inflating the tube and listening/feeling for escaping air, marking the puncture spot, deflating and removing the tube, gently roughing the puncture surface area with an emery cloth, applying adhesive, placing a patch over the puncture and pressing firmly, allowing it to dry before replacing the tube and inflating to the correct pressure.