Learn the straightforward steps for operating a bike pump to ensure your tires are optimally inflated for a smoother ride.
Key takeaways:
- Select the right pump for your needs
- Identify and understand your valve type
- Know the recommended tire pressure for your bike
- Follow the steps to pump your tire correctly
- Maintain and care for your bike pump properly
Find the Right Pump
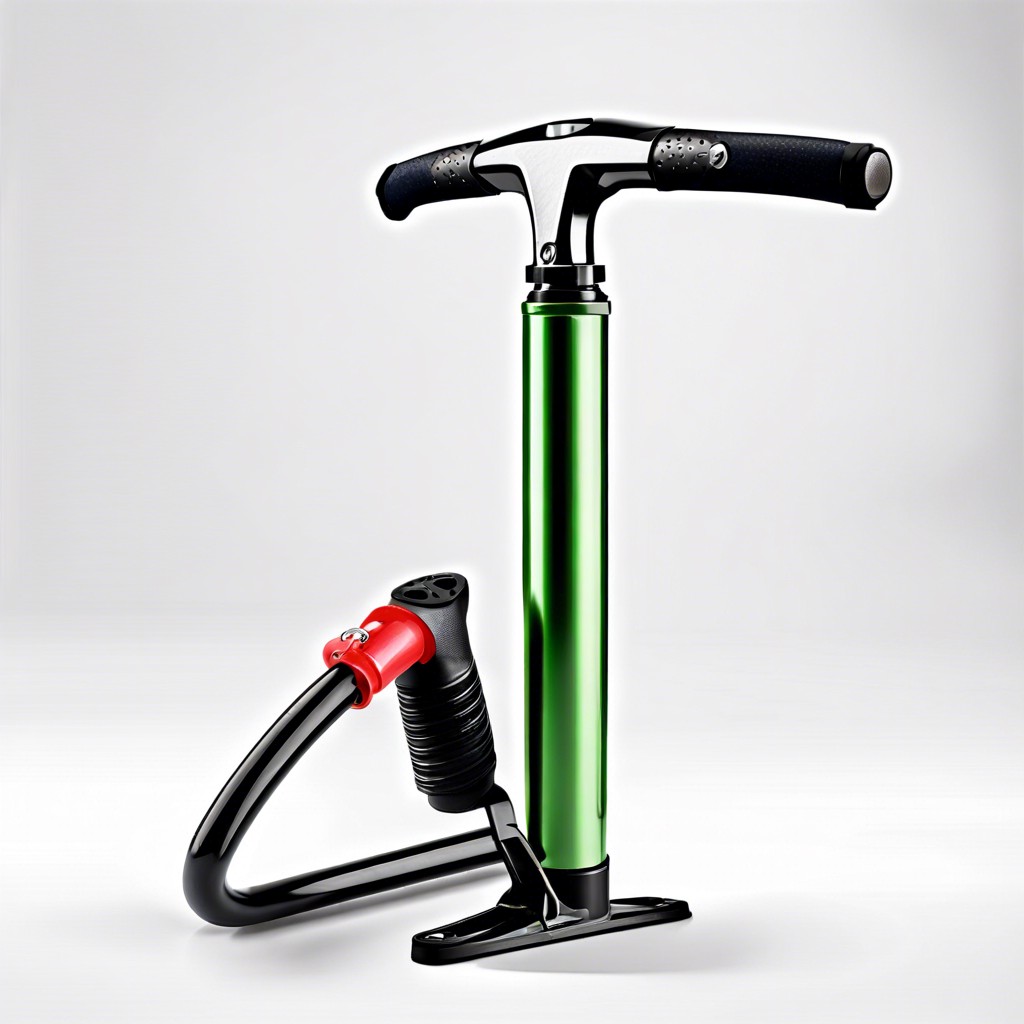
When selecting a pump, you’ll come across two primary types: floor pumps and portable pumps. Floor pumps are robust, featuring a stable base and a larger volume chamber, which inflates tires quickly and with less effort. They are ideal for home use. Portable pumps, including mini-pumps and CO2 inflators, are designed for on-the-go repairs. They are lightweight and compact, easily fitting into a backpack or attaching to the bike frame.
Consider the desired features. A gauge is invaluable for achieving accurate tire pressure, while a dual-valve head accommodates both Presta and Schrader valves without the need for adapters. For durability, choose pumps with metal components over plastic. The handle design and the hose length can also impact comfort and ease of use.
Remember, an appropriate pump serves not only as a tool but as a long-term investment in routine bicycle maintenance.
Identify the Valve Type
Bicycles typically feature one of two valve types: Schrader or Presta. The Schrader valve is wider and flat on the end, similar to those on a car tire. It’s common on mountain and hybrid bikes. In contrast, the Presta valve is narrower, featuring a locking nut at the top that you unscrew to open the valve. This type is often found on road bikes and high-end mountain bikes.
Knowing the difference is crucial as it affects how you attach your bike pump and can influence the type of pump you need. Some pumps fit both types, while others require an adapter. When you identify your valve type, ensure your pump head is compatible or adjust the head accordingly. Proper attachment is vital to avoid damaging the valve and ensuring an effective air seal during inflation.
Determine the Pressure Requirement for Your Tires
To ensure optimal performance and safety, every bike tire requires an appropriate level of air pressure, measured in pounds per square inch (PSI) or bar. This information is typically imprinted on the sidewall of your bike tire and denotes the recommended pressure range. Road bike tires generally require a higher PSI, often between 80 and 130, while mountain bike tires may operate best at pressures between 30 and 50 PSI. For hybrid tires, the recommended range usually falls between these two extremes.
Inadequate tire pressure leads to increased rolling resistance, making pedaling more laborious, and can pose a higher risk of punctures. Conversely, too much pressure compromises grip and can result in a harsh ride. Hence, checking the manufacturer’s recommendation and using a gauge to inflate your tires to the specified pressure is essential for a smooth, efficient cycling experience. Remember, tire pressure is not a ‘set and forget’ matter; regular checks are necessary, as tires naturally lose air over time.
Pumping the Tire to the Correct Pressure
Ensuring your tires are inflated to the correct pressure is crucial for optimal performance and safety. Here’s how to achieve the right inflation:
- Refer to your tire sidewall or the owner’s manual for the recommended pressure, usually measured in pounds per square inch (PSI).
- Connect your pump to the valve. For Presta valves, unscrew the tip before attaching the head; for Schrader valves, simply press it on.
- Begin pumping, keeping an eye on the gauge. If your pump doesn’t have a built-in gauge, periodically check the pressure with a separate gauge.
- Approach the recommended PSI with caution, checking frequently to prevent overinflation, which can damage the tire and compromise safety.
- Once you’ve reached the desired pressure, detach the pump carefully to avoid air loss. For Presta valves, remember to screw the tip back.
- Give the tire a quick check by pressing it with your thumb; it should feel firm but not rock-hard.
- If necessary, make minor adjustments by adding more air or releasing some by pressing the valve stem.
By maintaining the recommended tire pressure, you enhance your ride quality, prolong the lifespan of your tires, and improve traction and handling.
Maintenance and Care for Bike Pumps
Routine inspection of the hose and seals for signs of wear or damage prolongs the lifespan of your pump. Clean dirt and debris from the valve head and ensure it maintains a tight seal when attached to the tire. In piston-driven models, the addition of a few drops of lubricant inside the barrel keeps the action smooth. Store the pump in a dry environment to prevent rust and corrosion, and avoid exposing it to extreme temperatures which can degrade the rubber components. For optimal performance, check for stability in floor pumps to ensure safe operation, and always replace parts like gaskets or O-rings at the first sign of deterioration.