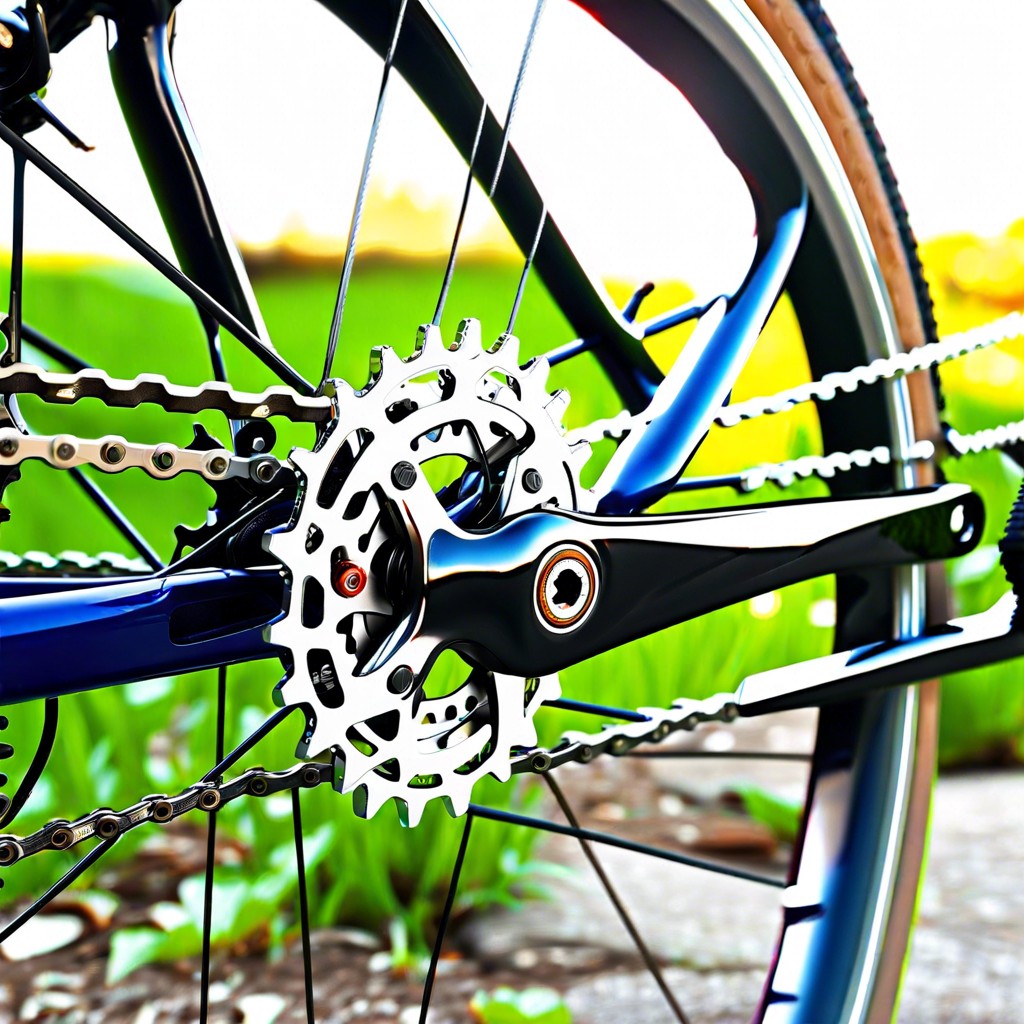
Learn the straightforward steps to promptly reattach a slipped chain on your geared bicycle, ensuring a smooth ride.
Key takeaways:
- Shift to the smallest chainring and rear cog for easier chain reattachment.
- Inspect derailleur and drivetrain for damage or debris before reseating the chain.
- Position the bike upside down or on a bike stand for stability during the process.
- Guide the chain over the sprockets, ensuring proper seating and alignment.
- Rotate the pedals slowly to test for smooth movement before riding.
Reattaching the Chain

Begin by shifting to the smallest chainring in the front and the smallest cog on the rear. This reduces chain tension and simplifies the process. Check the condition of the derailleur and drivetrain for any damage that might have caused the chain to derail.
Stand the bike upright, resting it on its wheels or using a work stand for better access. If neither is available, flip the bike upside down, carefully positioning it on the seat and handlebars.
Carefully thread the chain over the correct chainring and cog. Hold the chain above the rear derailleur, and ensure it runs along the proper path through the derailleur’s pulley wheels. Guide the chain ends together; if you have a master link, this is where you’ll connect it. For chains without a master link, pull both ends toward each other and fit them manually.
Before riding, pedal the bike slowly by hand to ensure the chain moves smoothly. If it doesn’t, recheck the path of the chain through the derailleur. Make any necessary adjustments to ensure proper tension and alignment.
Shift to the Smallest Chainring and Rear Cog
Before tackling the chain, optimize the position of your gears. Shifting to the smallest chainring in the front and the smallest cog in the back lessens tension on the derailleur, creating slack and simplifying the process.
With less tension, the chain can be maneuvered with ease. Not only does this protect the components from undue strain, but it also enhances your control over the chain’s placement. Should your bike have shifters, use them to carefully make this adjustment before proceeding to reseat the chain. Remember, gentle shifts can prevent additional damage.
Always ensure the bike is stable during this process; a bike stand can be indispensable for maintaining the correct position and allowing you access to the drivetrain without straining. If you’re on the go, flipping the bike onto its seat and handlebars offers a quick, makeshift alternative.
Inspect the Derailleur and Drivetrain
Before attempting to reseat the chain, a cursory check of the derailleur and drivetrain components is crucial to ensure they are free of damage and debris. Look closely at the derailleur pulleys and cage for any signs of bending or warping, a common aftermath when a chain drops. Bent derailleur hangers can also cause recurrent chain issues and should be realigned by a professional if necessary.
While examining, spin the pedals backward and observe the derailleur’s movement; it should guide the chain smoothly across the gears. Any hitch or jump could indicate a need for adjustment or repair. Additionally, survey the chain itself for compromised links, as these can hinder successful reattachment and may require replacement. It’s equally important to remove any foreign material from the chain, such as sticks, which may have catalyzed the derailment.
Lastly, confirm that the drivetrain is clear of excess dirt and grime. Accumulated debris can not only obstruct the chain’s path but can also accelerate wear on the drivetrain components. Removal ensures a clean, efficient environment for your chain to operate in once reinstalled.
Position the Bike
To successfully position your bike for chain reattachment, turn it upside down, resting it on the seat and handlebars. This provides easy access to the drivetrain and ensures that the bike remains stable during the repair process. Alternatively, if a bike stand is available, clamp the bike by its seat post for an even more convenient working height and the ability to freely spin the pedals and wheels. Ensure the bike is secure before attempting to manipulate the chain, as any movement could complicate the repair process or potentially cause the bike to fall, leading to injury or further mechanical issues.
Guide the Chain Over the Sprockets
To successfully guide the chain over the sprockets, start by locating the rear derailleur and pulling it towards the back of the bike. This action creates slack, making it easier to maneuver the chain. Hold the chain above the lower sprocket, and gently place it over the teeth. Ensure it’s seated properly in the groove.
Next, move to the front sprockets. Drape the chain over the smallest chainring, close to where the derailleur arm hangs. Maintain the slack you created by keeping the derailleur arm pulled back. Carefully release the derailleur, allowing the chain to take tension. This step should leave your chain resting on both sets of sprockets.
Finally, rotate the pedals forward gently, observing the chain as it begins to engage with the sprockets. Watch for any misalignment and make sure the chain progresses smoothly through the derailleur rollers. If all appears in order and the chain moves without resistance, you’ve successfully navigated the chain back onto the sprockets.