Learn the step-by-step process for removing a bike chain efficiently and with minimal tools.
Key takeaways:
- Use the right tools for removing a bike chain
- Follow specific steps to remove a chain with regular links
- Ensure correct chain routing for optimal performance and safety
- Size a new chain using the ‘Big-Big’ method for compatibility
- Join a new chain with a quick link or joining pin for a secure connection
Tools You’ll Need
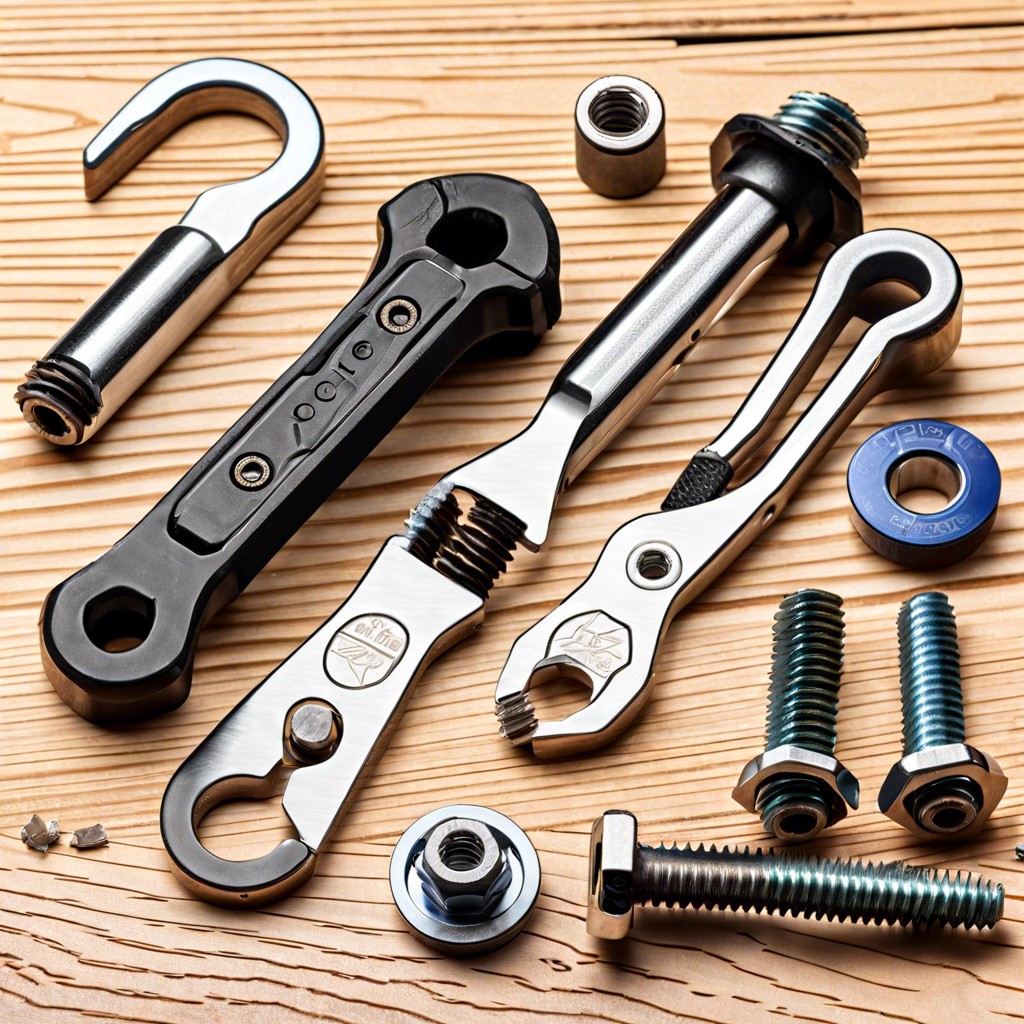
Equipped with the right tools, removing a bike chain is a straightforward task. The essentials include a chain breaker tool or chain pin removal tool, which allows you to push the pin out of the chain links. For chains with a master link, a pair of master link pliers is highly recommended to effortlessly detach and reattach the links. Additionally, keeping a rag handy is advisable for wiping away grime. For bikes with derailleurs, you may require a third hand tool or a piece of wire to maintain tension on the chain during removal, ensuring an easier process. Remember, working with clean tools not only eases the task but also prevents debris from entering the chain links.
Steps for Removing a Chain With Regular Links
To remove a bike chain with regular links, ensure the bicycle is stable and shift gears to position the chain on the smallest rear cog for slack.
First, use a chain breaker tool, aligning its pin with a link pin on the chain. Turn the handle to push the pin out just enough to release that particular link. Do not push the pin all the way through; it’s challenging to reinsert it.
After separating the link, you can lift the chain from the chainrings or cogs and snake it through the derailleur, which requires a bit of maneuvering.
If the chain is to be reused, take care to avoid bending the plates or twisting the links. Chains under tension may snap back, so keep fingers clear as the final pin is pushed.
Handle the tools and chain with care to maintain their integrity for reassembly. Proper tool use will help avoid damage to both your chain and the tool.
Correct Chain Routing
Ensuring proper chain routing is crucial for optimal bicycle performance and safety. The chain must pass through the front derailleur cage, if equipped, between the correctly aligned shift sprockets. It should wrap around the largest front chainring and the largest cog on the rear cassette without going through the derailleur, to verify chain length.
While removing or attaching, keep the chain under the tension guide pulley of the rear derailleur and over the jockey wheel, making sure it doesn’t rub against the derailleur tab. On bikes without a derailleur, align the chain directly from the chainring to the rear sprocket, maintaining adequate tension.
Double-check the routing by manually pedaling backward. The chain should move smoothly without skipping or jamming. If the bike has a chain guide, ensure the chain passes through it correctly to prevent slipping or derailing under strain.
Make this a meticulous step; incorrect routing can lead to chain suck, dropped chains, or accelerated wear, compromising your ride efficiency and safety.
Sizing a New Bike Chain Using the ‘Big-Big’ Method
Upon removing the old chain, the determination of the correct new chain length is crucial. The ‘Big-Big’ method provides a straightforward approach to this. It involves routing the chain through the largest front chainring and the largest rear cog without going through the rear derailleur.
- Ensure the chain isn’t threaded through the derailleur. Place it on the biggest front and rear sprockets.
- Pull both ends to meet each other under the chainstay.
- The point where the chain meets without tension is your baseline; add two links to this length for optimal drive train function. This excess ensures your rear derailleur has enough capacity to take up chain slack.
- Mark the position and remove the excess links from the chain, ensuring compatibility with your connecting mechanism, whether it’s a master link or a rivet.
This method helps maintain appropriate tension and prevents strain on the derailleur, ensuring smooth gear shifts and prolonging the lifespan of drivetrain components. It’s a consistent and reliable technique irrespective of the bike model you’re working on.
Joining a New Chain With a Quick Link or Joining Pin
After threading the new chain onto the drivetrain, the ends must be connected. A quick link, also known as a master link, provides an easy and tool-free method to link chains, commonly found in modern bike chains. This link consists of two interlocking pieces that snap together to join the chain securely.
If the chain comes with a joining pin, the method is slightly different. The joining pin, which is specific to the brand and model of the chain, is inserted into the link where the chain ends meet. One side of the pin is typically flared to prevent it from slipping out; this side should face outward when inserted. Using a chain tool, push the pin into the link until it is flush with the outer plates, securing the chain.
When working with either a quick link or joining pin, ensure that the connection is firm and the link moves freely. This guarantees smooth drivetrain operation and prevents future mechanical issues. Proper alignment and installation are vital to maximize the lifespan and performance of the chain.