Learn how to swiftly replace your bike chain with a step-by-step guide, ensuring a smooth ride every time.
Key takeaways:
- Check your chain for wear with a chain checker tool.
- Remove the old chain using a chain tool or master link.
- Clean the drivetrain to optimize performance.
- Size the new chain by adjusting the length based on the old chain or measuring from scratch.
- Install the new chain, ensuring it follows the correct path and runs smoothly.
Check Your Chain for Wear
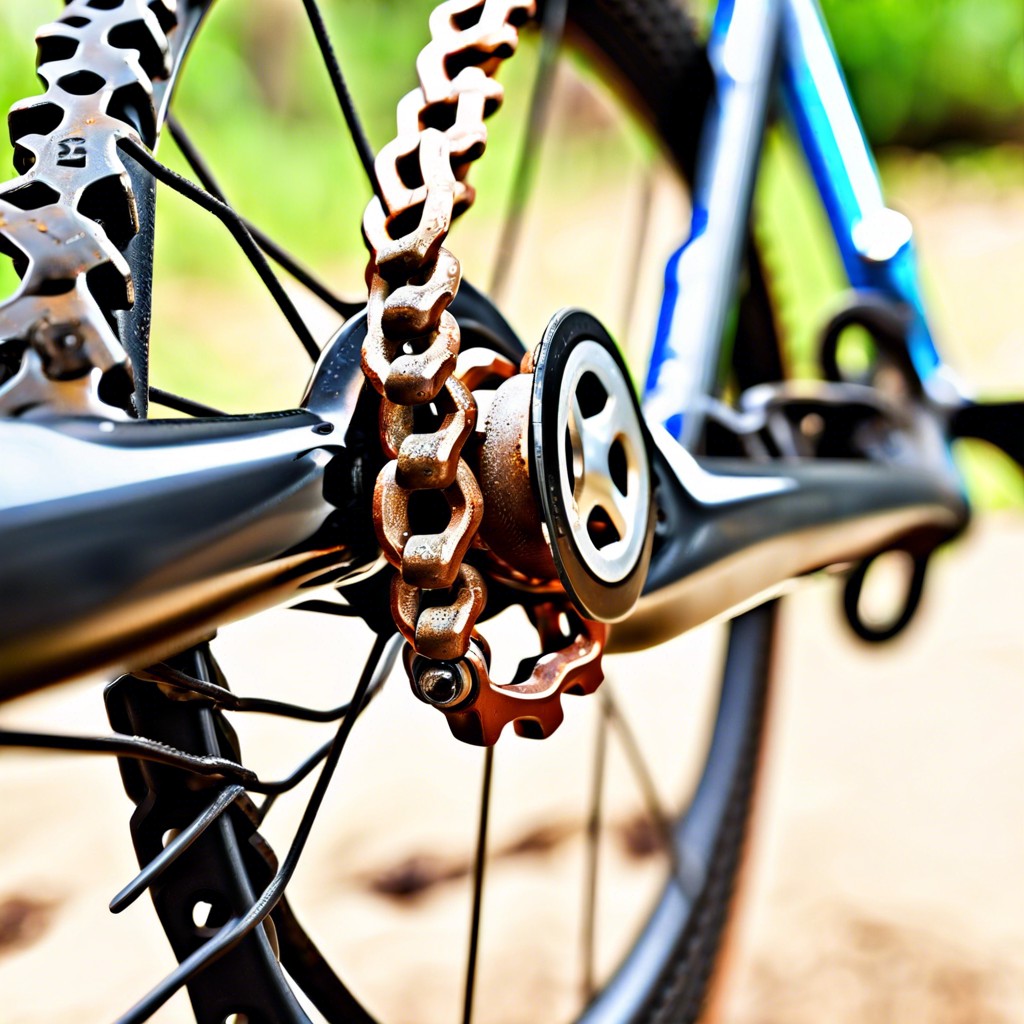
A worn chain can slip off gears or fail entirely, so catching it early is key. To assess wear, you’ll need a chain checker tool, which slots into your chain’s links to gauge stretch. If you don’t have one, a 12-inch ruler will do in a pinch.
Place the ruler flat along the chain and measure from one pin to another, exactly 12 inches apart. On a new chain, this should line up precisely. If the pin exceeds the 12-inch mark by 1/16th of an inch, your chain is starting to wear. Hit 1/8th of an inch, and it’s time for a change.
Remember, keeping your chain in good health can save you from a longer “to-do” list on your bike maintenance chart down the road. So don’t skimp on this; a stitch in time saves nine, and a check-in time saves your ride.
Remove the Old Chain
Breaking free from an old chain shouldn’t be a Herculean task. You’ll typically need a chain tool, which pushes the pins out of the chain. However, some newer models come with a master link that saves time. It’s a special link that unclasps with a simple trick: squeeze the links on either side, and voilà! The chain comes apart easier than a magician’s trick.
If your bike sports the older style, position the chain tool over a link and twist until the pin pops out. It’s a bit like extracting wisdom teeth, but for your bike and without the need for anesthesia. With the pin out, the chain should be free. If you hit a snag and the pin won’t budge, remember, a bit of elbow grease goes a long way. Don’t go all Hulk on it; steady pressure wins this race.
Despite not needing a pit crew skillset, it’s crucial to remember: A quiet working environment can be a sanity saver. The soul-crushing sound of the neighbour’s leaf blower? Not ideal for maintaining focus on precision tasks. Once the old chain is free, resist the temptation to toss it aside like last year’s fashion. You might need it to measure the length of the new chain, so treat it like a blueprint – not sacred, but certainly handy.
Clean the Drivetrain
Start with the cassette: use a brush and degreaser to scrub between the cogs. Dirt and grime build up here and can shorten the life of your new chain.
Next, tackle the chainrings: apply degreaser and use a stiff brush to dislodge any stubborn gunk. Remember the nooks and crannies where grime loves to hide.
Move to the jockey wheels on the rear derailleur. A buildup of muck here can affect shifting performance. Sometimes a toothpick helps to flick out debris from the tight spaces.
Finally, wipe down the front derailleur. Shift through the gears while turning the pedals to ensure smooth operation once you fit the new chain.
A pristine drivetrain not only looks great but also optimizes performance. Your new chain will thank you for the clean foundation, resulting in smoother rides and longer-lasting components.
Size the New Chain
Correctly sizing your new chain is the linchpin in the world of smooth cycling advents. Imagine wearing pants that drag on the ground or, worse, ones that make sitting down a gamble at best; that’s your bike with an ill-fitting chain.
Begin by lining up your new chain alongside the old one on a flat surface. If the old chain wasn’t overly stretched, use it as a reference for the length of the new one. With chains, it’s a tale of pin-to-pin matching; count the links and adjust accordingly. However, if your trusty steed has been through the wringer and stretched beyond its youthful spring, hold your horses on using it as a template.
Instead, feed the new chain through the front derailleur and wrap it around the largest chainring and the largest cog without passing through the rear derailleur. Pull the ends together until they meet under the chainstay. Now, the magic number: add two links to this length, which gives your rear derailleur enough slack to function correctly. Remember, snip the extra links with a chain tool, because unlike a magician’s handkerchief, the chain’s length isn’t just an illusion but the real deal.
Avoid a rookie slip-up: double-check for special joining requirements if your bike uses a master link or a specific brand’s connector pin. A master link, a saving grace in chain connection, snaps together with a satisfying click. Conversely, for those persistent pins, a chain tool guides their entry with surgical precision.
In essence, sizing up is a bit of a balancing act – not too tight, not too loose. Nail this act and you’re set for a ride smoother than a buttered banister. Remember, measure twice, cut once, and you’ll be set to roll out in no time.
Install the New Chain
Thread the new chain onto the front chainring and through the rear derailleur. Take care that it follows the correct path around the pulley wheels and through the cage. Next, if your chain has a master link, connect the ends of the chain by aligning the pins and link, ensuring the arrow on the master link faces the direction of drivetrain rotation. For chains without a master link, use a chain tool to push the pin in until it’s flush with the outer plate.
Make sure the chain runs smoothly over the gears without kinks or resistance. Pedal forward gently to confirm that the chain moves without issue. Finally, do a test ride to check that the shifting is crisp and there are no slips under load, adjusting the derailleur if necessary. This step is crucial for maintaining precise gear changes and preventing premature wear.
Related
- Removing Bike Chains: Step-by-Step Guide for Cyclists
- How to Fix a Bike Chain: Comprehensive Guide and Best Practices
- How to Put Chain Back on Bike with Gears: A Step-by-Step Tutorial
- How to Tighten a Bike Chain: Simple Step-by-Step Guide
- How to Clean Bike Chain: A Comprehensive Guide to Maintain Your Bike