Learn the steps to effectively tighten a bike chain and ensure optimal cycling performance.
Key takeaways:
- Use appropriate tools for chain adjustment and maintenance.
- Properly identify chain slack for optimal performance.
- Follow specific adjustment techniques for single-gear and multi-gear bikes.
- Ensure proper alignment of the rear wheel for balanced riding.
- Know when to replace a chain versus tightening it.
Required Tools for Chain Adjustment
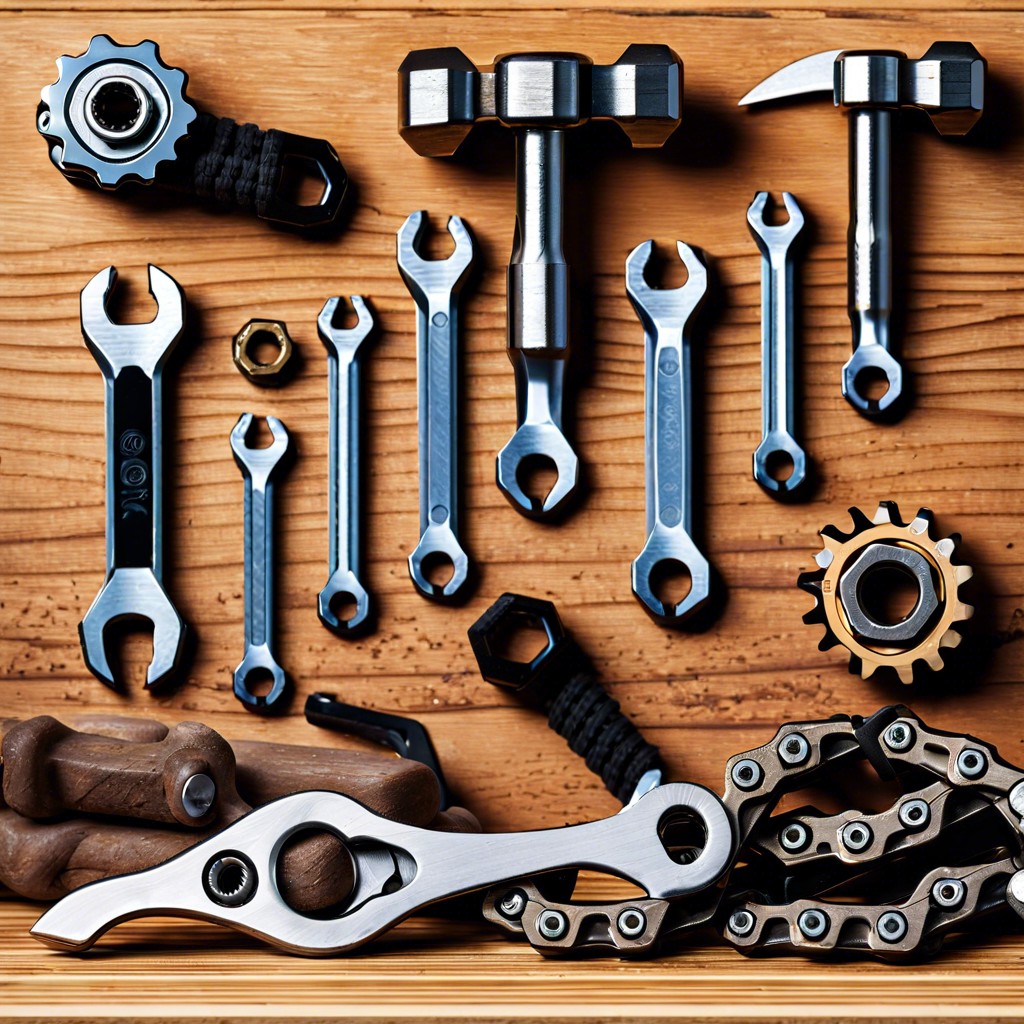
Before commencing the task of tightening your bike chain, gather the following tools:
- A wrench suitable for your bike’s axle nuts, typically ranging from 15mm to 17mm.
- A pair of pliers or a chain tool for bikes without a master link.
- A ruler or a specialized chain checker tool to assess chain wear.
- A clean rag for wiping off grease and dirt.
- Lubricant for the chain post-adjustment.
Having the correct tools ensures efficiency and prevents damage to your bike. Use a chain tool or pliers for disconnecting the chain if needed, particularly for bikes without a derailleur. Precise measurement of chain wear aids in determining the necessity of tightening versus replacing the chain. Clean and lubricate the chain after adjusting to promote smooth operation and extend the chain’s lifespan.
Identifying Chain Slack
A correctly tensioned bike chain should allow for a small amount of vertical movement, typically half an inch of play in either direction. Begin by rotating the pedals to move the chain to a position where you can easily access it. Place two fingers underneath the chain midway between the front and rear sprockets. Gently lift the chain away from the bike frame, and release. If the movement is significantly more than an inch, the chain is likely too loose.
Excessive slack can lead to poor gear shifting and decreased power transfer from the pedals to the wheels. If the chain is too tight, on the other hand, it strains the drivetrain components and can lead to premature wear. A snug fit, maintaining that half-inch leeway, is key for optimal bike performance.
Periodic inspection is crucial because both overuse and lack of use can cause chain tension to change. Whether you ride daily or dust off your bike seasonally, checking chain slack should become a routine part of your bicycle maintenance to ensure a smooth ride.
Adjusting Tension On a Single-Gear Bike or a Multi-Gear Bike With a Derailleur
For single-gear bikes, loosening the rear axle nuts allows you to move the wheel back, increasing tension on the chain. To maintain an even gap between the tire and frame, ensure the wheel remains centered while you gently pull back before tightening the nuts securely.
On multi-gear bikes with derailleurs, the derailleur’s arm adjusts the chain’s tension and typically should not be manually tightened. If the chain is sagging, it usually indicates a worn-out chain or a need for derailleur adjustment. For minor slack, use the barrel adjuster on the derailleur to fine-tune the tension.
Always check the wheel’s alignment with the frame after adjusting the tension. An improperly aligned wheel affects riding performance and safety.
Rotate the wheel to ensure the chain moves smoothly without binding or slipping, signaling proper tension. If the chain is overtightened, it can cause excessive wear on the drivetrain components.
Aligning the Rear Wheel
Proper alignment of the rear wheel ensures balanced riding and even chain tension. To achieve this, first, loosen the axle nuts or quick-release lever enough to permit movement but not complete disengagement. Position the wheel such that it is centered between the bike’s chainstays.
Use the brake calipers as a reference point for alignment to gauge equal distance on either side. This comparison provides a visual cue to ensure that the wheel is not skewed to one side.
Adjust the rear wheel by pushing or pulling it gently in the dropouts, the notches where the wheel is seated. Keeping the wheel straight, tighten the nuts incrementally, alternating from one side to another to maintain alignment. Avoid over-tightening which could warp the axle or hinder wheel rotation.
Rotate the wheel and observe it as it spins. Eye-level inspection for any side-to-side movement will verify if the wheel spins true. Any wobble or misalignment calls for further adjustment. Once true, check the tension of the chain by pressing on it. A small amount of give, about half an inch, indicates correct tension, and the wheel can then be fully secured in place.
Always perform a test ride to ensure stability and safety after the adjustment. The bike should feel responsive, stable, and have a smooth chain flow when pedaling.
Determining When to Replace Vs. Tighten the Chain
Differentiating between a chain that merely requires tightening and one that needs replacement is crucial for bike maintenance. A well-tensioned chain is essential for efficient power transfer, but an overworn chain can compromise the integrity of bike sprockets and gears.
Assess the chain’s wear by lifting it off the biggest front ring. If it lifts easily to expose more than half a tooth, it’s likely time for a new chain. Another method is using a chain checker tool to measure stretch; beyond 0.75% elongation suggests replacement.
Check for stiff or seized chain links, which compromise smooth operation and could necessitate replacement if they can’t be freed.
Inspect the sprockets for wear. If the teeth resemble sharp points, or if the chain skips under pressure even after being correctly tensioned, these are signs that the chain, and possibly the sprockets, should be replaced.
Regular cleaning and lubrication can extend the life of both the chain and the drivetrain components. Always refer to the manufacturer’s guidelines and consult with a professional if you’re unsure about the state of your bike’s chain.