Learn the straightforward process to change a bike tube with this step-by-step guide, ensuring you can quickly get back to riding with minimal downtimes.
Key takeaways:
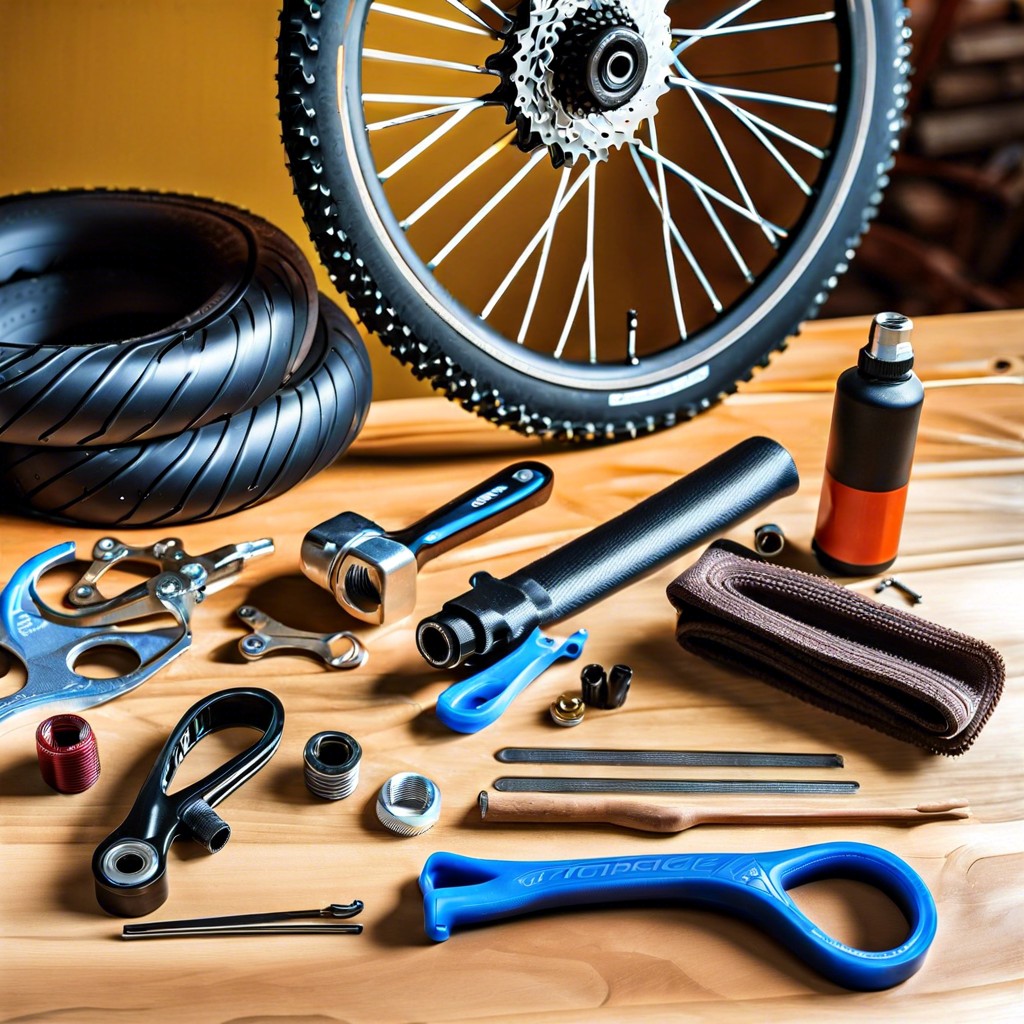
- Gather necessary tools: tire levers, new tube, pump, wrench.
- Remove the wheel: shift gears, open brakes, unscrew skewer or nuts.
- Inspect tire for causes of puncture: feel for sharp objects, check rim tape.
- Install the new tube: partially inflate, slide valve through rim, work tire bead back on.
- Reattach the wheel: position in dropouts, align brakes, tighten securely.
Tools Needed
Before embarking on a tube change, gather the necessary tools to ensure a smooth process:
- Tire levers: To pry the tire from the rim, a set of at least two tire levers is essential.
- A new tube: Ensure it matches the size and valve type of your current tire.
- Bicycle pump or CO2 inflator: To reinflate the tube once installed.
- Adjustable wrench (for bikes without quick-release wheels): To loosen the bolts if your bike is not equipped with quick-release levers on the wheels.
- Patch kit (optional): In case the existing tube is repairable, you may opt for a patch kit as a temporary or permanent solution.
Having these tools at your disposal will equip you to handle the majority of flat tire scenarios, helping you get back on the path swiftly.
Removing the Wheel From the Bike
First, shift your gears to the smallest cog to facilitate easier wheel removal. If your bike has rim brakes, open the brake caliper to provide adequate space for the tyre to pass through. For disc brakes, this step is unnecessary.
Next, if you’re removing the rear wheel, ensure the derailleur is out of the way by pulling it gently towards the rear of the bike. This will also give the chain some slack.
Now, if your bike is equipped with quick-release skewers, open and unscrew them carefully. For bikes with thru-axles, loosen and pull them out according to the bike’s specific mechanism. If your bike has nuts securing the wheels, use a suitable wrench to loosen them.
Gently lift the bike and guide the wheel out of the dropouts. For the rear wheel, this may require a slight wriggling motion to clear the chain from the cassette.
With the wheel free, lay it flat to prepare for the next step—removing the tyre and the damaged tube.
Inspect the Tyre for Puncture Causes
Before installing a new tube, carefully examine the inside and outside of the tyre. This step is crucial to prevent future punctures from the same cause.
Run your fingers along the inner tyre surface to find sharp objects; be cautious to avoid cuts. Look for thorns, shards of glass, or metal that could be embedded in the rubber.
Visually inspect the tyre tread for embedded debris that might not be immediately felt.
Check the rim tape, which covers the wheel’s spokes on the inside of the rim. If it’s damaged, it could expose spoke ends or metal burrs that could puncture the new tube.
If you locate an object, remove it with pliers or tweezers. Make sure you remove the entire object; some can break off, leaving sharp points inside the tyre.
Remember, if you skip examining the tyre thoroughly, you risk the same culprit puncturing your newly installed tube, putting you back at square one.
Installing the New Tube
Begin by partially inflating the new tube; this gives it shape and makes it easier to insert into the tire without twisting. Slide the valve through the valve hole of the rim, then tuck the tube evenly into the tire.
Carefully work the tire bead back onto the rim with your hands. Start opposite the valve to ensure the tube isn’t pinched. Avoid using tire levers to reseat the bead, as this can pinch the tube and cause another puncture.
Once the tire is back on the rim, check that the tube isn’t caught between the tire and rim. Inflate the tire slightly and massage the tire to ensure the tube settles properly. Finish inflating the tire to the manufacturer’s recommended pressure, checking the tire is seated correctly as you go.
Rotate the wheel slowly, inspecting both sides to ensure the tire sits uniformly on the rim and there’s no bulging or sinking indicating an improperly seated tube. If necessary, deflate, adjust, and reinflate.
Reattaching the Wheel
Once the new tube is installed and the tire is seated correctly on the rim, it’s time to put the wheel back onto the bike. Begin by lifting the bike or turning it upright if it’s flipped over. Carefully position the wheel in the dropouts—the slots at the ends of the fork in the front, or the frame for the rear wheel. Ensure that the chain wraps around the cassette properly if you’re attaching the rear wheel.
For bikes with rim brakes, make sure the brake pads are clear of the tire and that the wheel is centered between them. If you have disc brakes, align the disc with the brake caliper slots, taking care not to touch the disc with your fingers to avoid transferring oil from your skin.
Tighten the quick release or bolts securely. For quick-release systems, the lever should leave an imprint on your palm when you close it, indicating adequate tightness without over-tightening. If your bike uses nuts to secure the wheel, use a wrench to tighten them in a diagonal pattern to ensure even pressure.
Lastly, ensure that the wheel spins freely without wobbling and that the brakes engage properly by spinning the wheel and applying the brake lever. If everything is aligned and functioning, your bike is ready for a ride.