Discover the straightforward process of patching a bike tire to get back on the road swiftly and safely.
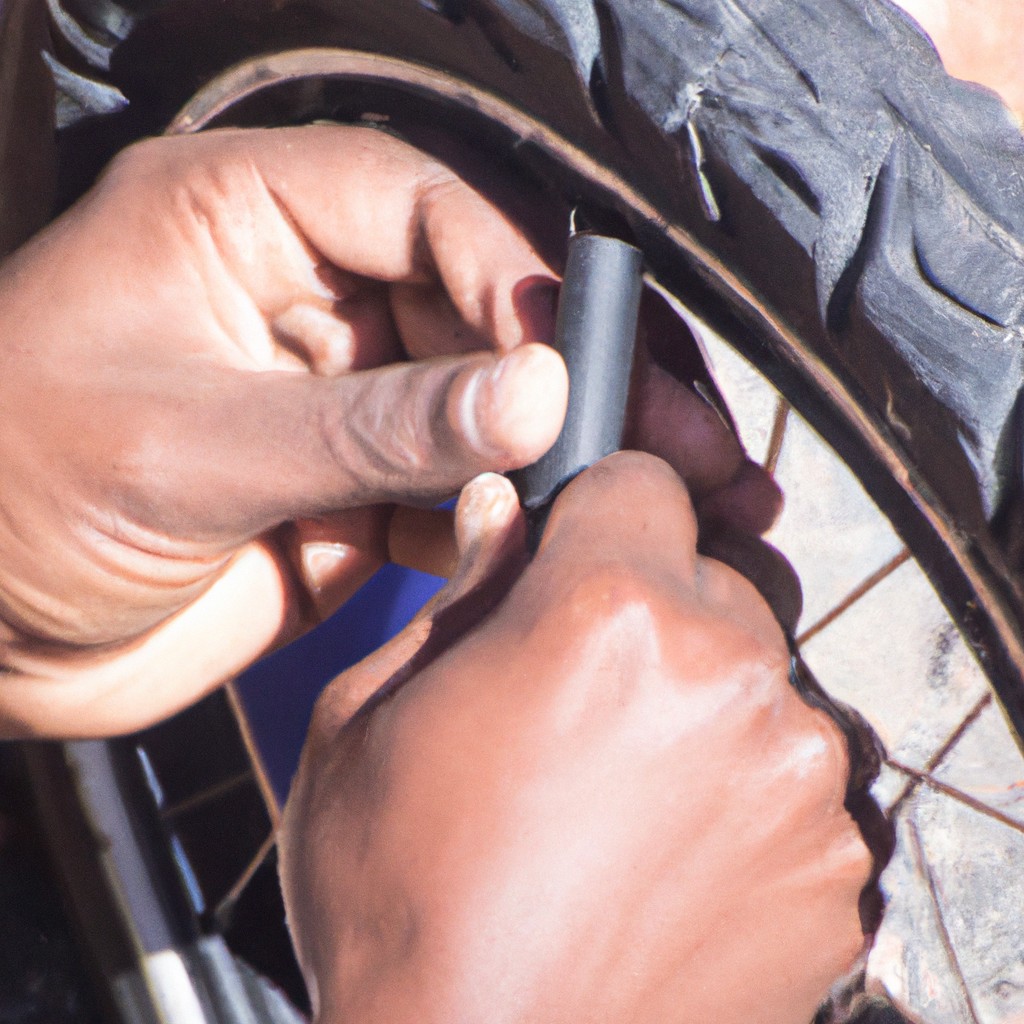
Patching a bike tire is a handy skill for any cyclist. It’s a straightforward process that requires a few basic tools like a tire lever, patch kit, and some elbow grease. This article will guide you through the steps of locating the puncture, preparing the area, applying the patch, and reassembling your tire.
By following these instructions, you’ll be back on the road in no time. Whether you’re a seasoned cyclist or a beginner, this comprehensive guide will provide you with all the details you need to successfully patch your bike tire.
Key takeaways:
- Use specific tools: tire lever, patch kit, marker.
- Find puncture by deflating tire and immersing in water.
- Apply adhesive and patch, press firmly for optimal seal.
- Inflate tire gradually, check for leaks and proper alignment.
- Prevent future punctures with proper tire maintenance and riding technique.
Tools Needed For Bike Tire Repair
To effectively patch a tire, you’ll need several specific tools. A bike pump, tire levers, patch kit, and a marker are crucial. The bike pump is for both deflating the tire for repair and re-inflating it after.
Tire levers make removing the tire from the rim easier, and are especially useful for tires that fit tightly.
The patch kit is essential for the repair itself. It usually consists of several patch sizes, adhesive, and sandpaper. The sandpaper helps to roughen the tire surface for better patch adhesion, while the adhesive ensures the patch stays firmly in place.
A marker isn’t compulsory but useful to mark the puncture spot once identified, to avoid losing it during the repair process.
Having the right tools can mean the difference between a quick, effective repair and potential frustration.
How to Identify a Bike Tire Puncture
In most cases, a drastic loss in tire pressure or having a flat tire is a clear sign of a puncture. Riding feels squishy, wayward, and controlled steering becomes more of a challenge. Yet, it’s not always as obvious. Check for embedded debris, like thorns or shards of glass, as they are common culprits.
If you cannot find anything, listen closely and feel around the tire for escaping air. Remember, even the tiniest puncture can cause a tire to deflate over time. Inspect the tire in a methodical manner to be sure you don’t overlook something. This process of elimination will help to pinpoint the issue accurately.
Steps for Locating the Puncture On a Bike Tire
To find the exact spot of the puncture, you’ll first need to completely deflate the tire, removing it from the bike’s rim. With the tire off, inflate it slightly – just enough that it retains a circular shape, but is not too tight.
Next, immerse your tire in a sink or bucket full of water and slowly rotate it. Keep an eye out for a stream of bubbles – this reliable indicator will point you right to the hole in your tire. Alternatively, if water isn’t available, you can also resort to running the inflated tire near the skin on your cheek. The sensitivity of your skin will feel the air escaping the puncture.
Always mark the puncture clearly as soon as you find it. It’s easy to lose track once you remove the tire from the water or move away from the puncture spot. Use a permanent marker or something that will remain visible until the patch process is complete.
Remember, punctures may not be limited to just one, so it’s crucial you continue checking the rest of the tire even after locating the initial troublemaker. Your diligence here will save you from the inconvenience of having to begin the entire patch process again for a missed puncture.
Instructions for Applying a Patch On Bike Tire
Ensure the tire’s surface is dry and clean before proceeding with the repair. To begin, apply a thin, even layer of adhesive from your tire repair kit over the punctured area, extending slightly past its borders. Allow it to dry completely until it becomes transparent.
Peel the backing off your repair patch. Center it over the puncture and press firmly, starting in the middle and working outward to eliminate any air bubbles. For an optimal seal, hold pressure on the patch for at least a minute.
Then, apply a dusting of talcum powder over the patch. This prevents the tire tube from sticking to the inside of the tire. Remember, patience is key in this process – rushing through any step could result in a poorly sealed patch, compromising the ride’s quality and safety.
What to Do After Patching a Bike Tire
Once you have successfully applied the patch, replace the tire carefully back onto the wheel rim. Inflate it gradually, monitoring for any additional air leaks. Listen for any hissing sounds which might be an indication that the patch isn’t fully sealed or another puncture exists.
Perform a close visual inspection to ensure the patch is properly adhered and not bunching or peeling.
Ensure that the tire is inflating properly to its recommended pressure. Do not overinflate it; excessive air pressure could adversely affect the patch job or potentially lead to a blowout.
Next, re-mount the wheel to your bike. Check that the wheel spins freely without any indication of a wobble and engage the brake lever to ensure everything is functioning properly.
Finally, a short test ride is highly recommended. This will help to ensure that the patch holds under normal riding conditions and the wheel is perfectly aligned.
For a successful patch job, patience is a virtue. During each step, meticulous attention to detail ensures reliability and safety on your future rides.
Tips to Prevent Future Bike Tire Punctures
Maintaining optimal tire pressure is crucial, as low tire pressure makes tires more susceptible to punctures. Make it a habit to check tire pressure before each ride, adhering to the manufacturer’s recommended psi.
Investing in high-quality tires can also make a difference. More durable tires often have a higher price tag, but their strong puncture-resistant layers could save you time and money in the long run.
Learn about local road conditions and avoid routes with lots of debris or rocky terrain, as these can cause punctures. Consider using bike lanes or paved trails when available.
Regular inspection of your bike’s tires can spot potential issues before a full-blown puncture occurs. Look for shards of glass, thorns, or sharp rocks embedded in the tire and remove them carefully.
Riding technique matters as well. Try to absorb shocks and impacts with your body rather than letting the tires take the brunt of it. Avoid hitting curbs or potholes at high speeds.
Lastly, consider using tire sealant, an effective solution that can immediately seal small punctures. This could be a good option especially for those who frequently ride on rough terrains.
Importance of Regular Bike Tire Maintenance
Regular maintenance of bike tires helps in increasing their lifespan and ensures a smooth ride. Here are some significant points to consider:
- Tire Pressure: Maintain the right tire pressure specified by the manufacturer. Low pressure may lead to punctures, while high pressure can cause the tire to burst.
- Regular Inspection: Examine the tires regularly for cuts, shards, or any debris lodged into them. Remove any sharp objects immediately to prevent punctures.
- Rotation: Rotating the tires is a lesser-known aspect of tire maintenance. It promotes even wear, thereby prolonging the life of the tire.
- Tread Check: Keep an eye on tire tread. If treads start disappearing, they can’t provide the necessary grip, indicating it’s time for a tire change.
- Balancing: Always ensure the tires are balanced. Unbalanced tires might cause uneven wear, leading to premature tire replacement.
Remember, healthy tires equal happier rides. Regular maintenance won’t just help prevent punctures but will also contribute to the overall performance and safety while cycling.
FAQ
Can you use electrical tape to patch a bike tire?
Yes, electrical tape can be effectively used to patch a bike tire.
Is it worth patching a bike tire?
While patching a bike tire proves to be cost-effective and eco-friendly, swapping tubes becomes necessary when the hole is near the valve stem or when facing a linear tear instead of a regular puncture.
What are the tools necessary to patch a bike tire?
To patch a bike tire, essential tools include a bicycle tire patch kit, tire levers, and a pump.
How long will a patched bike tire last?
A correctly patched bike tire can last between 3,000 to 8,000 miles, depending on the rider's weight, riding style, road conditions, and the quality of the patch.
Can a bike tire be patched more than once?
Yes, a bike tire can be patched more than once, but it should be replaced if it has multiple punctures or if the patches are too close together.