Discover the straightforward steps to fixing a flat bike tire and get back on your journey swiftly.
Fixing a flat bike tire can be a daunting task for beginners, but with the right tools and a step-by-step guide, it becomes a breeze. This article will walk you through the entire process, from identifying the puncture, removing the flat tire, patching it up, to getting it back on the bike.
Whether you’re dealing with a sudden flat on a trail or a slow leak at home, this guide will provide you with all the details you need to fix your bike tire and get back on the road in no time.
Key takeaways:
- Identifying the Signs of a Flat Bike Tire: Swerving, sagging, hissing.
- Gathering Essential Tools for Tire Repair: Pump, levers, patch kit.
- Removing the Punctured Bike Tire: Release brake, loosen nuts, lift gently.
- Assessing the Cause of the Puncture: Inspect tire, inner tube, use water.
- Fixing the Tire With a Patch Kit: Inspect tube, scratch, apply patch.
Identifying the Signs of a Flat Bike Tire
Feeling a sudden lack of control or the bike swerving unexpectedly often signifies an underinflated or flat tire. Discomfort while riding or wobbly movements, particularly when cornering, are also indicators.
Upon visually inspecting the bike, look for a sagging tire or listen for a hissing sound. Spotting an embedded sharp object like a nail, or seeing damage or wear on the tire surface are clear indications of a potential puncture.
Physical changes in the tire’s shape, coupled with difficulty in maneuvering, should prompt one to stop and check the tire’s condition.
Gathering Essential Tools for Tire Repair
To successfully fix a puncture, one should have these vital tools at their disposal. First is a bike pump for inflating the tire once the repair is completed. Then, tire levers, usually two or three depending on personal preference, assist in removing the flat tire from the wheel.
For finding the puncture, a bucket of water can be indispensable. Finally, a patch kit, which usually includes adhesive, patches, and sandpaper, is used for covering the hole in the tire. Having these components will significantly improve the efficiency and quality of the tire repair. Each has a specific role in the tire repair process, making them indispensable for any cyclist.
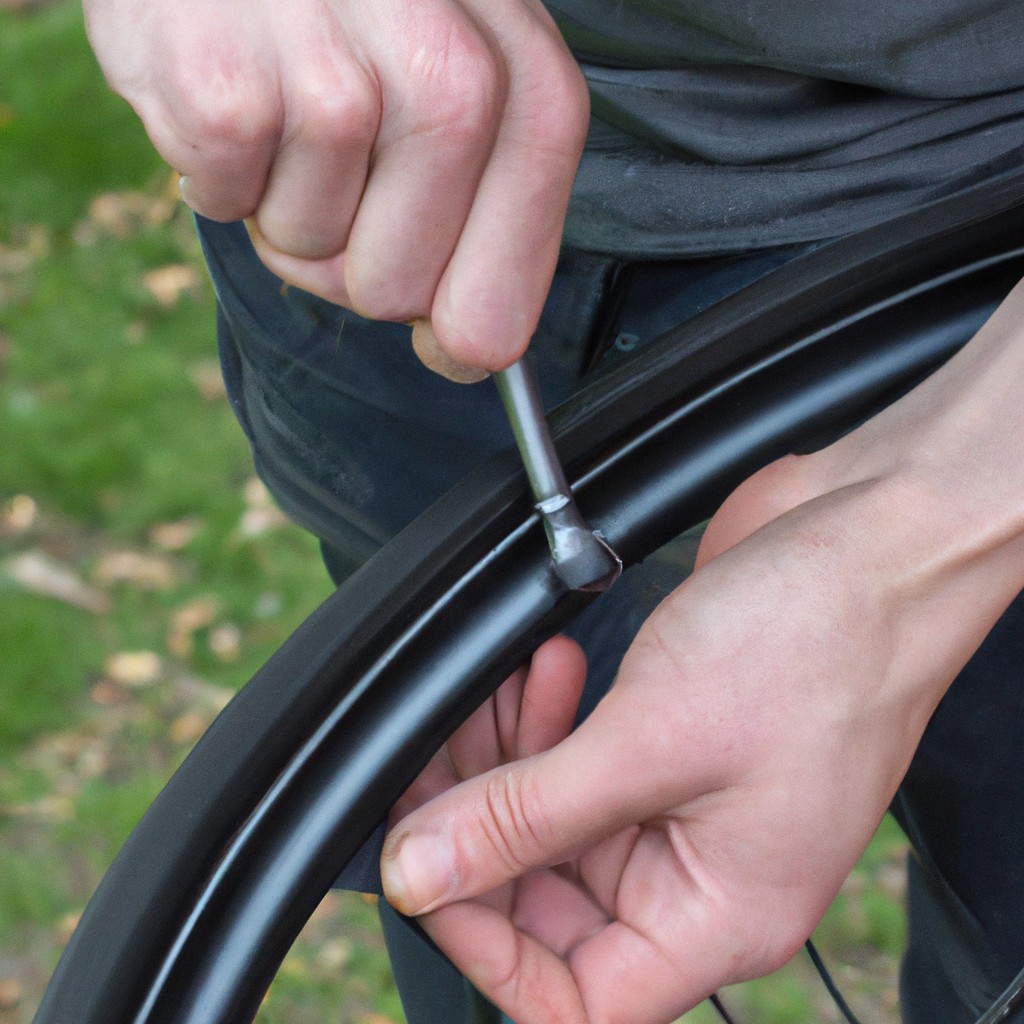
Removing the Punctured Bike Tire
First, you’ll need to release the brake system. For most bikes, particularly those with side pull brakes, this simply means squeezing the calipers – the arms of the brake system – towards each other. Other bikes might require more specific steps.
Then, loosen the axle nuts using a suitable wrench or, if your bike is equipped with it, use the quick-release lever. You’d want to be careful with the chain if you are removing the rear tire – it’s best to shift to the smallest chainring and the smallest rear cog before starting the process.
When you’ve accomplished these, gently lift the bike and let the tire fall free from the frame. Some tires might need a bit of gentle encouragement; just be sure not to pull or twist too strenuously as it can cause additional damage.
Remember to take note of any peculiarities in the process, as putting the tire back on will generally require you to repeat these steps in reverse. Keep all small parts, like nuts or quick-release pieces, in a secure place to avoid losing them.
Assessing the Cause of the Puncture
First, inspect the exterior of the tire. Carefully run your hands along its surface, seeking any sharp object intruding. Typical culprits are shards of glass, thorns, or pieces of metal. Remove any identified intrusions with tweezers, but be cautious not to further damage the tire.
Next, divert your attention to the inner side of the tire. Gently feel the inner surface to identify any sharp objects or anomalies. Each may reveal a puncture source.
Lastly, examine the detached inner tube. Inflate it slightly and hold it under water. Watch for escaping bubbles, which will pinpoint the puncture location. This practice not only aids in the repair process, but it also gives clues about possible tire issues helping to avert future flats.
Fixing the Tire With a Patch Kit
First, thoroughly inspect the tube by feeling and looking for signs of puncture or damage. If it’s not visible, inflate it slightly – the escaping air should lead you to the culprit.
Next, prepare your patch kit. Traditional ones typically include a small rough metal piece and a variety of patches. Use the metal piece to scratch the area around the hole on your bike tire; this helps the patch adhere better.
Apply the patch glue to the scratched area, spreading it outwards from the center of the puncture. Let it dry until it doesn’t stick to your fingers anymore; it usually takes a minute or two. Remember, the patch won’t stick properly if the glue hasn’t dried enough.
Choose a patch that fully covers the puncture and press it onto the glued area. Apply pressure evenly across the patch, ensuring it sticks to the tube well.
Once done, leave it for a few minutes for the adhesive to set. After that, inflate the tube slightly to check the patch’s adhesion. If it seems secure and no air is escaping, you’ve successfully patched up your bike tire!
While this process may seem arduous at first, practice makes perfect. Always keep your patch kit handy and you’ll be a pro at fixing flat bike tires in no time.
Next, let’s discuss how to correctly reattach the tire onto your bike.
Reattaching the Repaired Tire Onto the Bike
Once the tire is patched and partially inflated, it’s time to slot it back into place. Take the wheel and carefully slide the tire back onto the rim. You can try easing one side of the bead over the rim before the other for a smoother process. Ensure the valve stem is straight and not at an angle for the best result.
Affected by gravity, the tire can sometimes be stubborn to fit right. To remedy this, start at the top, moving on to secure the bottom, rotating the wheel as you go.
When every part sits correctly, begin pumping the tire. Check the tire’s sidewall for the recommended PSI (pounds per square inch). Avoid over-inflation as it may pop the patch off or cause a blowout.
Finally, don’t neglect to reinstall the wheel on your bike, aligning it properly in the dropouts. Reconnect the brakes and, if a rear tire fixed, ensure the chain is seated correctly on the cassette. Check all fastenings to ensure nothing’s loose.
These are the general redux, but every bike tire reattachment may present its own challenges – don’t be discouraged, and remember that practice makes perfect.
Key Measures to Prevent Further Tire Punctures
Maintaining optimal tire pressure is paramount to curb the occurrences of punctures. Make it a routine to check the pressure and maintain it within recommended ranges specified by the manufacturer.
Navigate gently while on rough trails. Sharp objects can easily cause a puncture, so ride with caution to avoid areas laden with sharp debris.
Investing in puncture-resistant tires or tire liners can fortify your defense against thorns, shards of glass, or even nails. While the cost may be higher upfront, the reduced chances of punctures could save you in the long run.
Finally, a routine inspection of your tires can help detect minor damages before they escalate into major punctures. Look out for embedded objects, cuts, or signs of wear and tear. If the damage seems extensive, replacing the tire might be the best solution.
FAQ
Can you repair a bike tire?
Yes, a bike tire can be repaired by removing the wheel, extracting the tube, repairing or replacing the tube, and reassembling it.
What tools are required to fix a flat bicycle tire?
To fix a flat bicycle tire, one requires a bicycle pump, tire levers, and a puncture repair kit.
How can you prevent bike-tire punctures in the future?
Bike-tire punctures can be prevented by using puncture-resistant tires, maintaining appropriate tire pressure, avoiding harsh terrains, and using tire liners or sealant.
Is it better to repair a bike tire or replace it completely?
It's generally more cost-effective and environmentally friendly to repair a bike tire if the damage is minor, but in cases of significant damage or wear, replacement is usually the best option.